- One 8-inch square cake
- White frosting
- Light brown or tan icing (you can use a store-bought buttercream or tint white frosting with brown food coloring, cocoa powder, or ground cinnamon)
- Wilton #47 piping tip (or any similar basket-weave tip)
- Piping bag
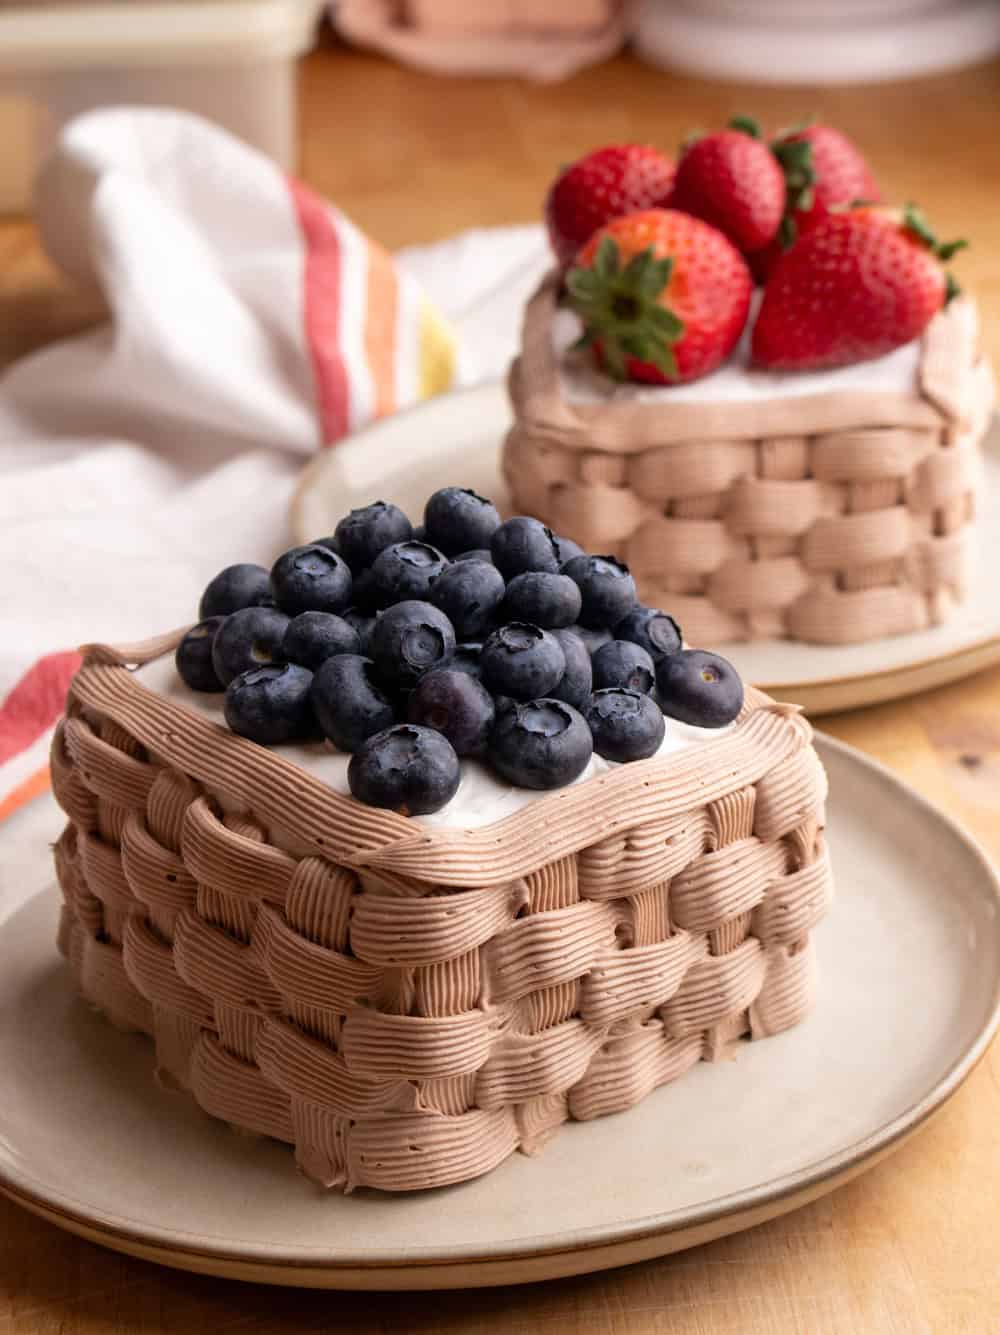
- Fresh fruit (we used strawberries and blueberries, but feel free to get creative with your favorite fruits!)
- Offset spatula for frosting
Step 1: Cut the Cake Into Squares Start by cutting your 8-inch square cake into four equal squares. You can use a serrated knife to slice the cake carefully into quarters. You’ll need two squares to form each little “basket,” so you’ll have enough for two individual cakes. Step 2: Frost the Cake Layers Take one of the cake squares and frost the top of it with a layer of white frosting. Don’t worry about making it perfectly smooth since you’ll be adding another layer on top. Place another square of cake directly on top of the frosted square. Now, frost the entire cake with white icing, covering both the top and sides. This layer of frosting will serve as your base and help the basket's texture stand out. Step 3: Pipe the Basket Texture For the next step, you’ll create the basket weave effect on the sides of the cake. Fill a piping bag with your light brown or tan frosting and attach a Wilton #47 piping tip (or a similar basket-weave tip).Starting on one side of the cake, pipe a straight line of frosting from the top to the bottom of the cake. Then pipe three short lines with spaces between from top to bottom. Move your way along the sides, continuing to pipe in rows, making sure the lines are slightly interwoven, just like a real basket. Once all four sides are covered, pipe a border around the top edges of the cake to complete the look. Step 4: Add the Fruit Arrange your favorite fruits on top of the cake to make it look like a full basket. We used strawberries and blueberries for a burst of color and sweetness, but feel free to get creative with fruits like kiwi, raspberries, grapes, or even small slices of citrus.Place the fruit in a way that makes it look like it’s overflowing from the top, creating a fun and colorful centerpiece for your cake. Step 5: Serve and Enjoy Once your fruit basket cake is fully decorated, it’s time to serve! These cute little cakes are perfect for springtime gatherings, Easter celebrations, or any occasion where you want to bring a fresh, fruity twist to your dessert table. Not only are they delicious, but they also make for a beautiful display that’s sure to impress your guests.