By using this site, you agree to our Terms of Use. This post may contain affiliate links. Read our disclosure policy.
Follow us on Instagram for more fun food ideas for kids!
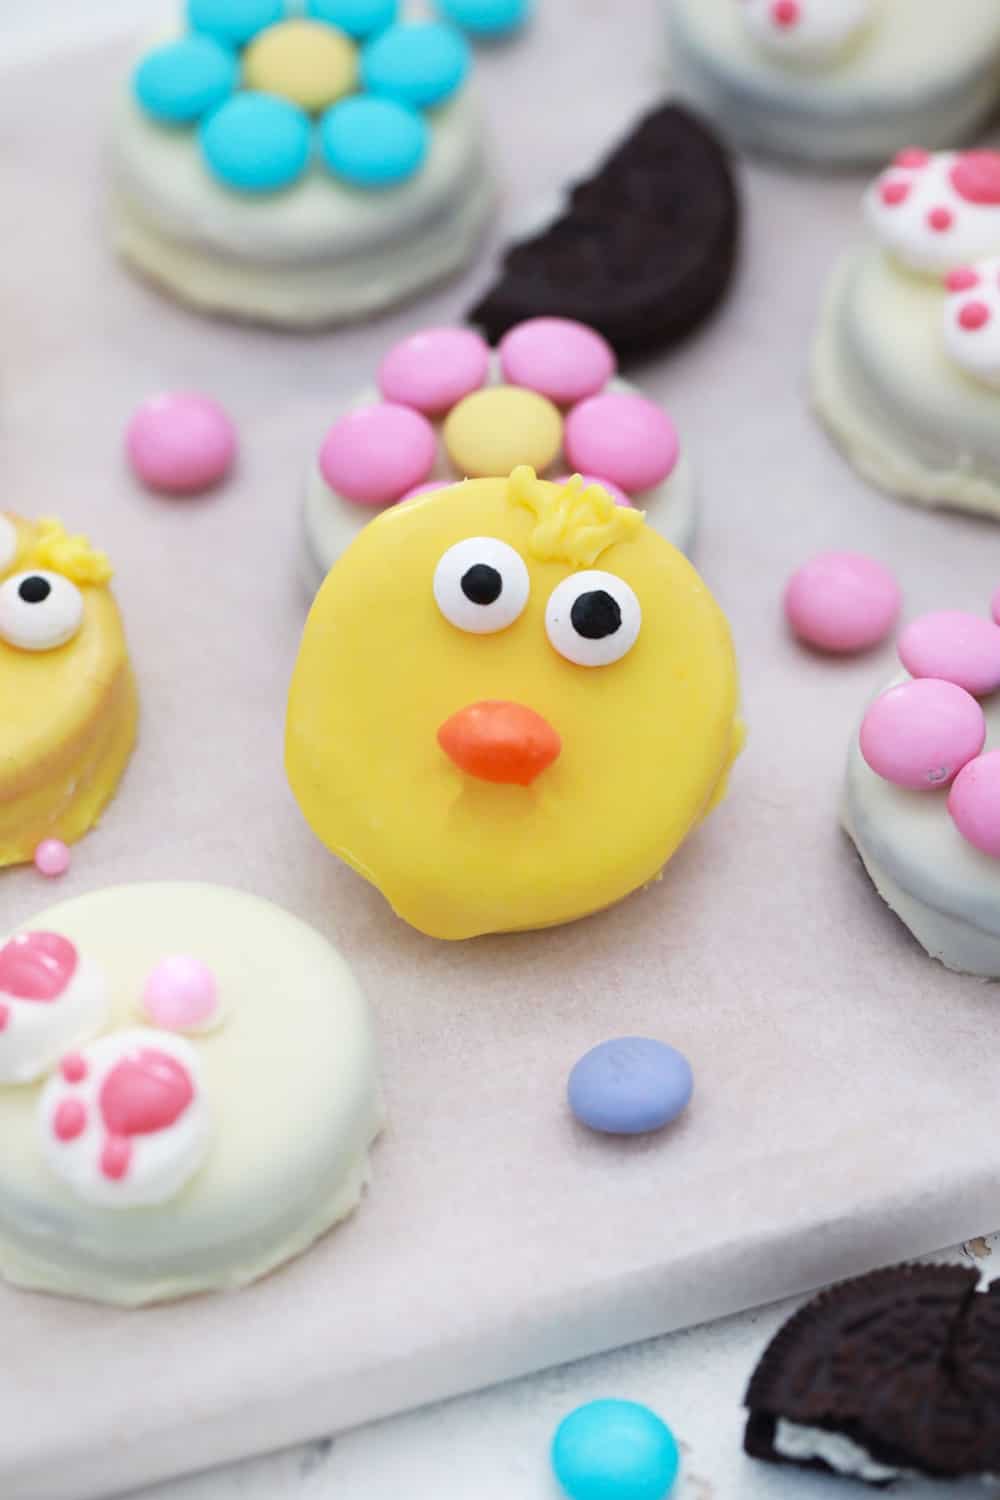
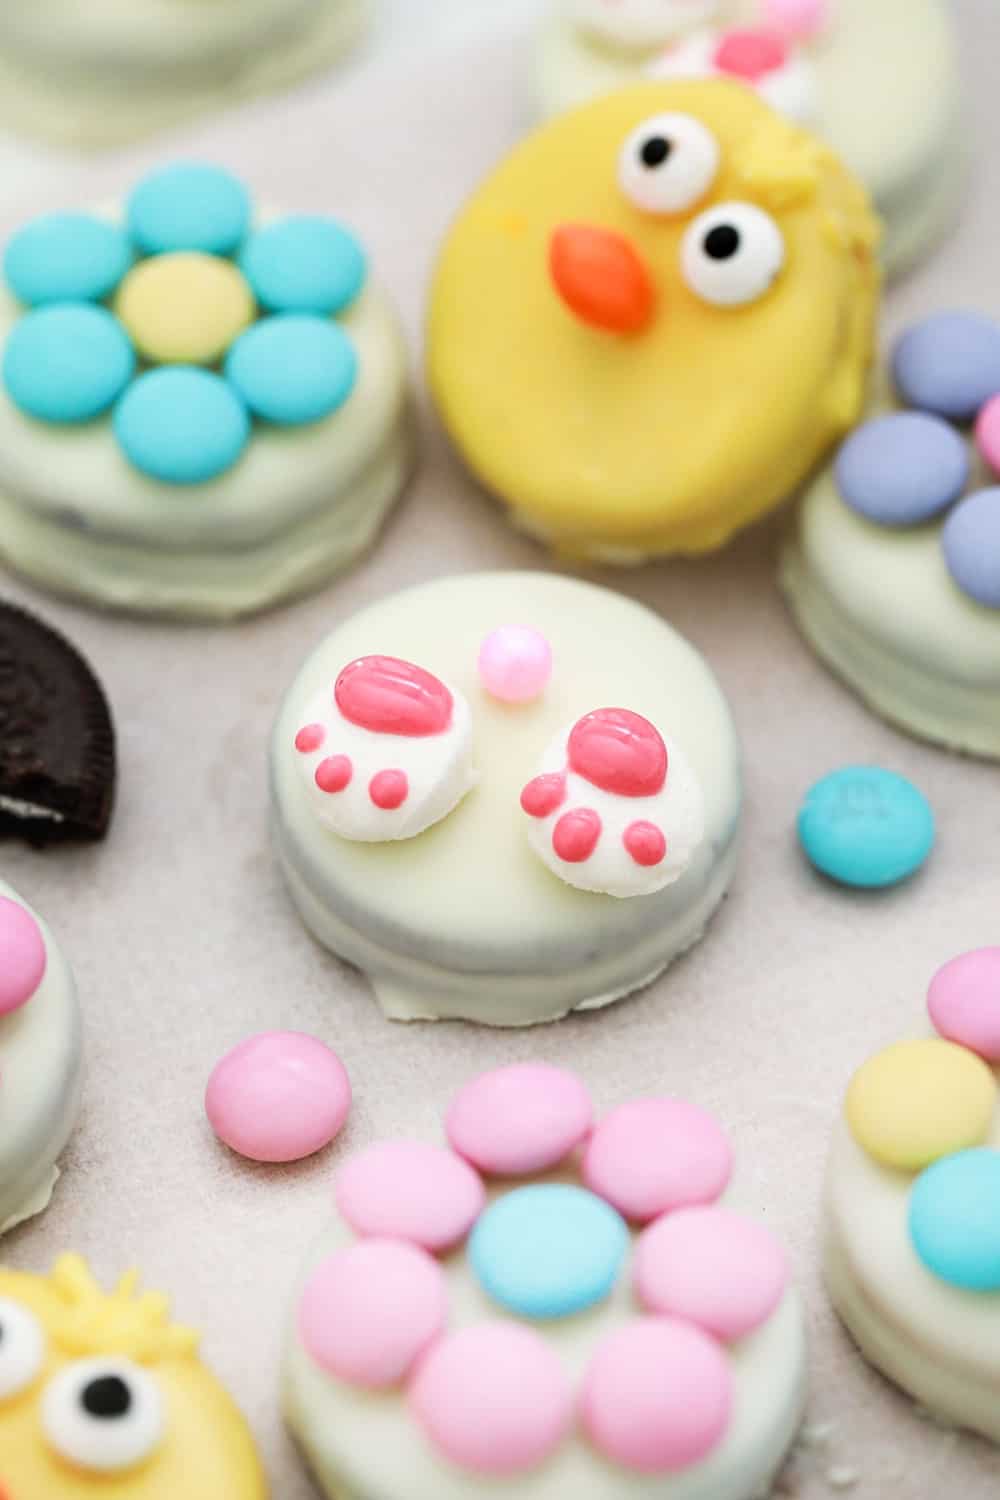
Easter Oreos are the perfect treat for kids and adults! Made with fun decorations, everyone is going to love how they turn out!
Oreos are one of our favorite treats to use for any celebration. They are versatile and well-loved by young and old. We’ve made Christmas Oreos and even mini sprinkle cake Oreos!
Making Easter desserts as a family is one of my favorite things to do. The kids love being a part of the cooking and decorating, and I love having them be a part of it.
Once you realize how simple and easy it is to decorate Oreo cookies, you’re going to be thinking about all the ways that Oreos can be used! We made a lot of trial-and-error ones, but for the most part, we had a great group of Easter Oreos that turned out really nice.
Can I use different flavors of Oreos?
You bet! It’s a fun outing and activity to head to the store and find all the different types of Oreos that there are on the shelf.
You can use regular Oreos, double stuffed, Golden Oreos, and more. There are even fun holiday flavors like Carrot Cake, Gingerbread, or even Mint that would be great to use.
The more that the Oreos are flavored, the more fun they’re going to have eating them.
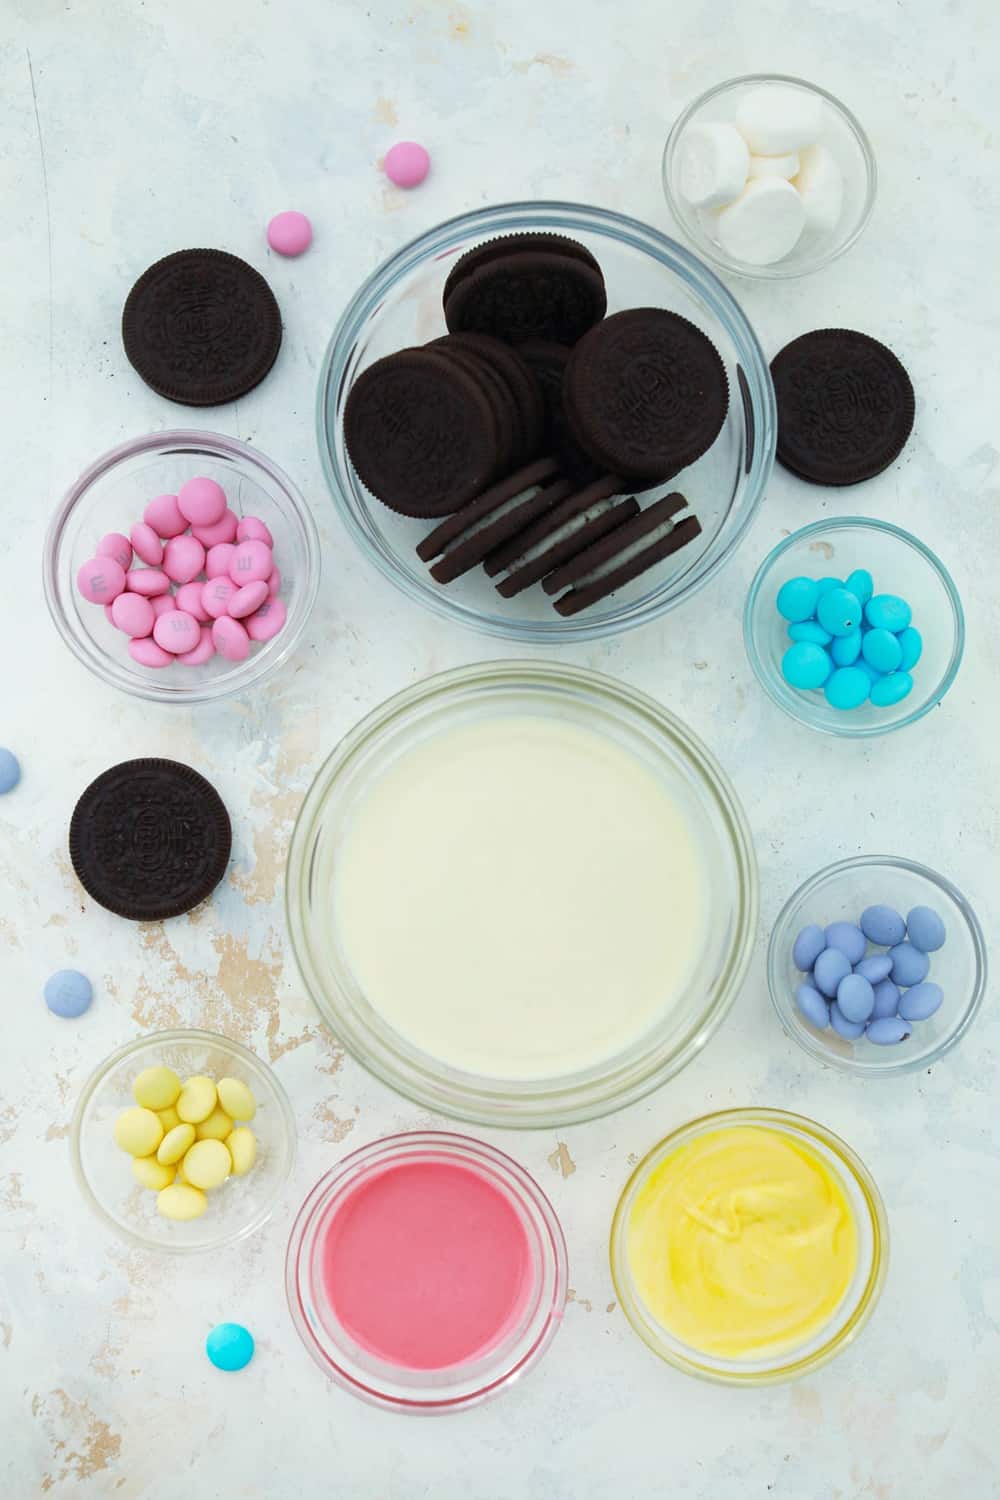
Ingredients to make Easter Oreos
- Oreo Cookies
- Candy melts in yellow, white, and pink
- Colorful candies
- Mini marshmallows
- Googly eyes

How to Make Oreos for Easter Dessert
Once you see how simple and easy it is to make these Oreo cookies, you’re going to want to make them all the time.
Just follow the simple directions below, and you’ll be happy with the outcome.
Start by melting the candy melts in microwave safe bowls. The exact time needed should be on the package directions.
Be sure that you don’t overheat and burn the candy melts, or you’ll have to throw out the entire batch and start over.
Once the candy melts are smooth, you can dip the Oreos into the melted chocolate and then set them on parchment-lined baking sheets.
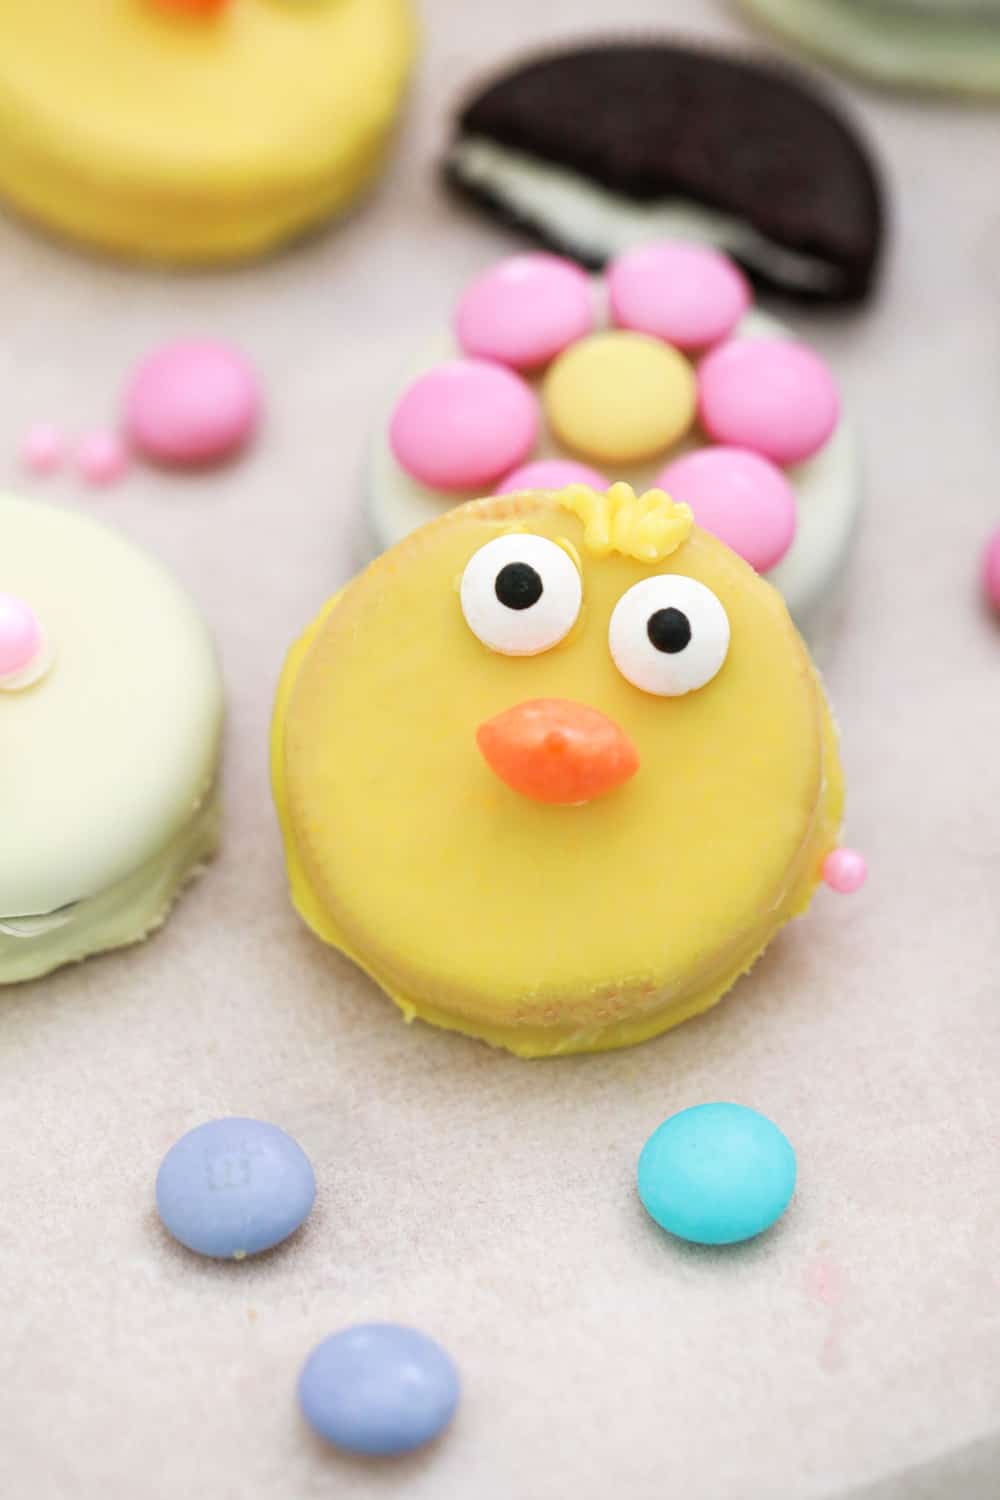
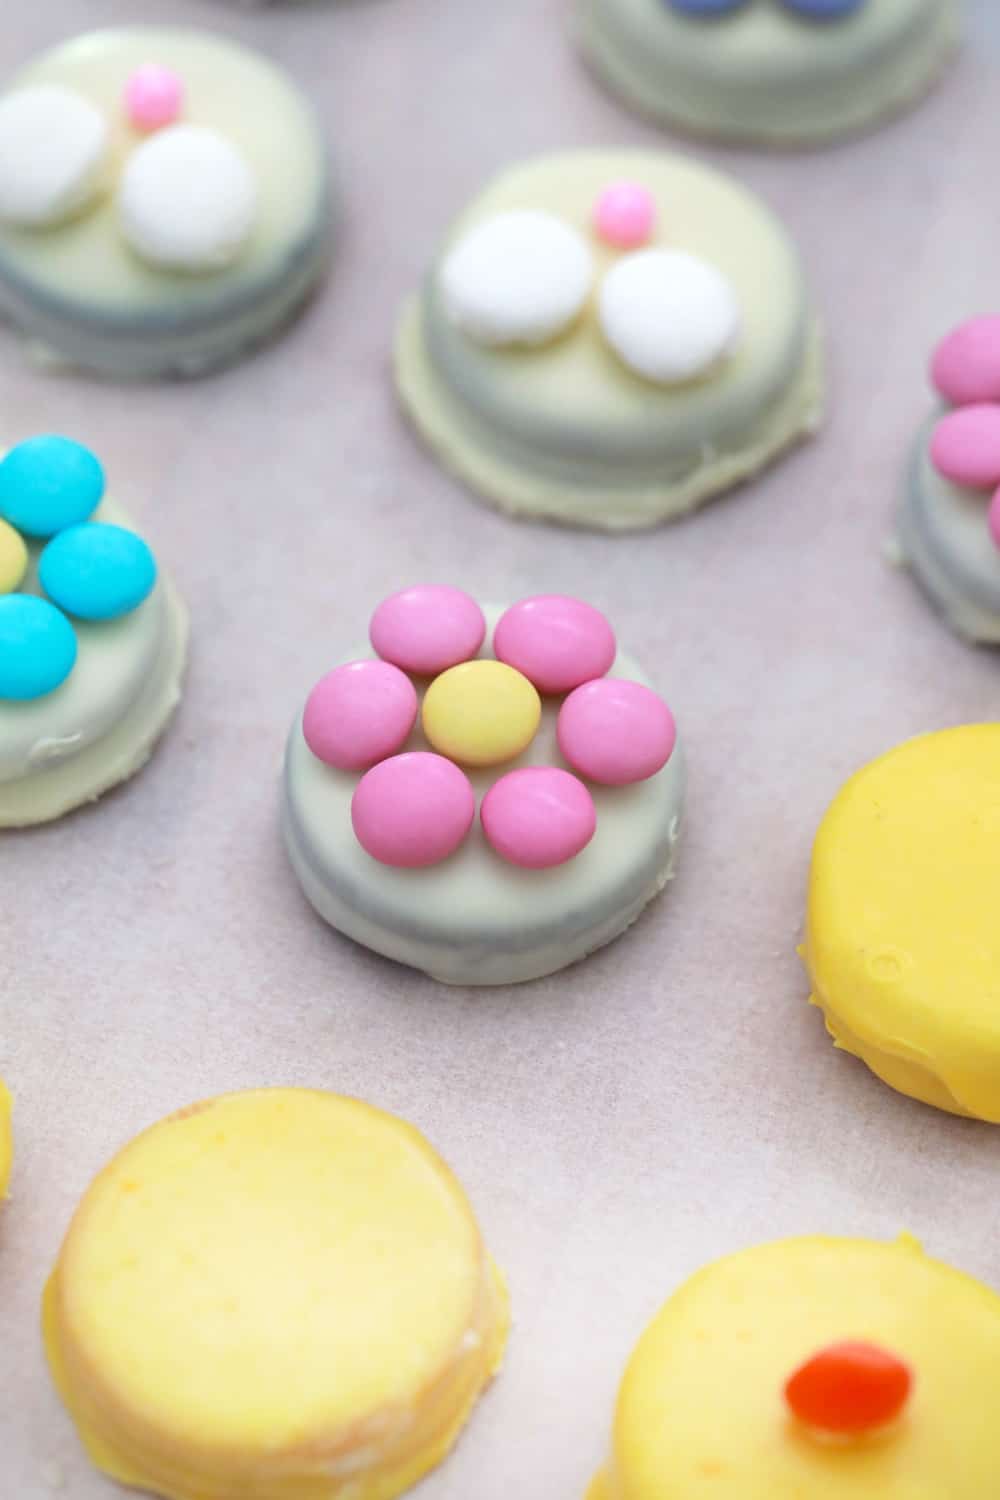
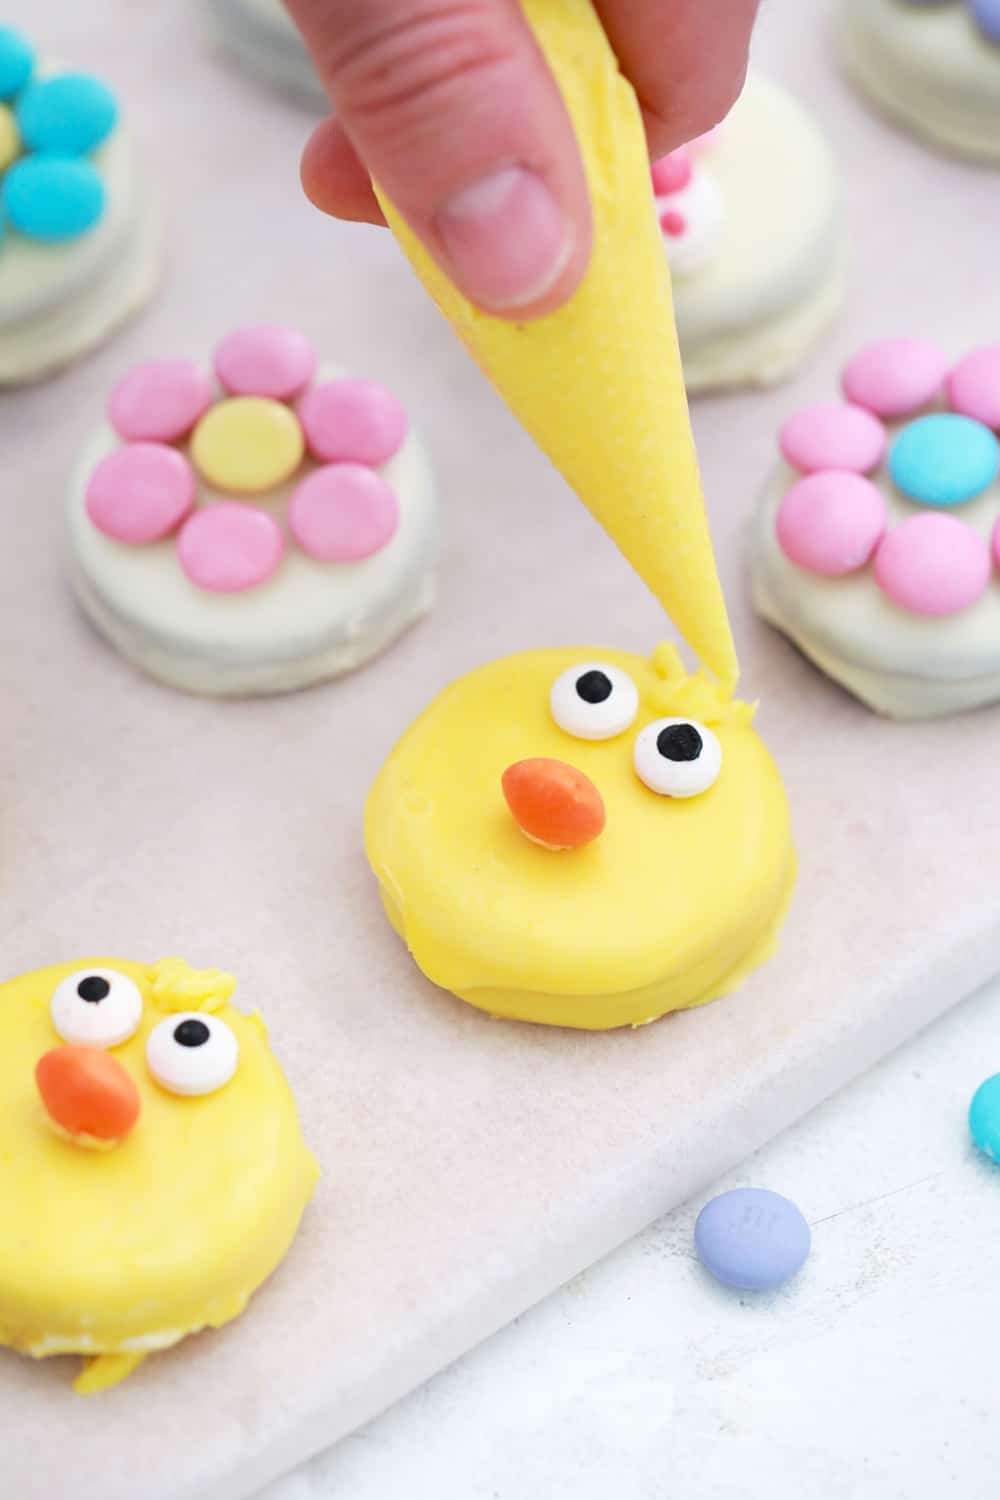
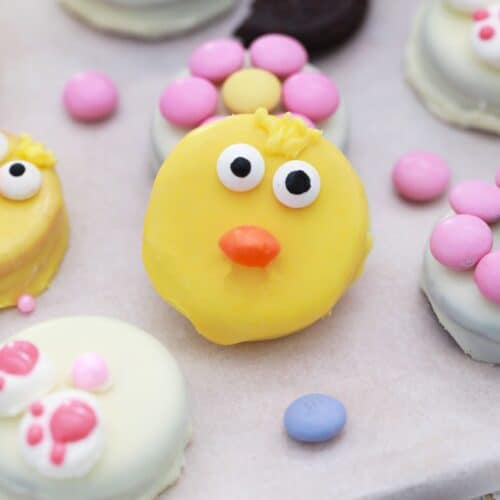
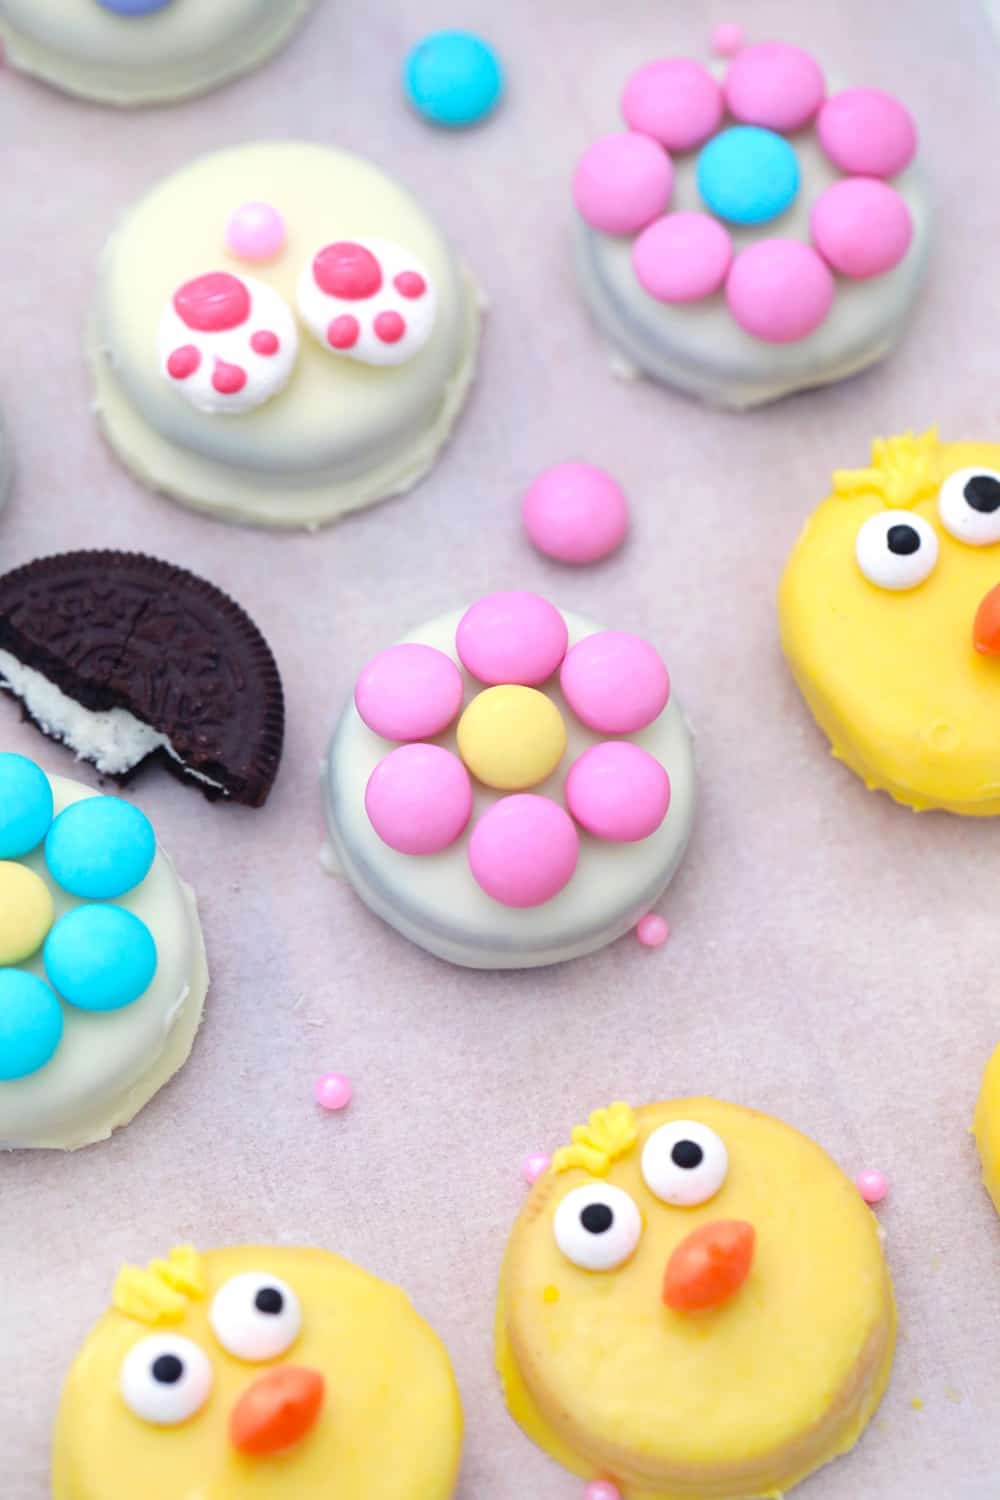
Add the decorations on top of the colored Oreos. Add candy eyes to the yellow to make the duck, and then add an orange M&M for the beak.
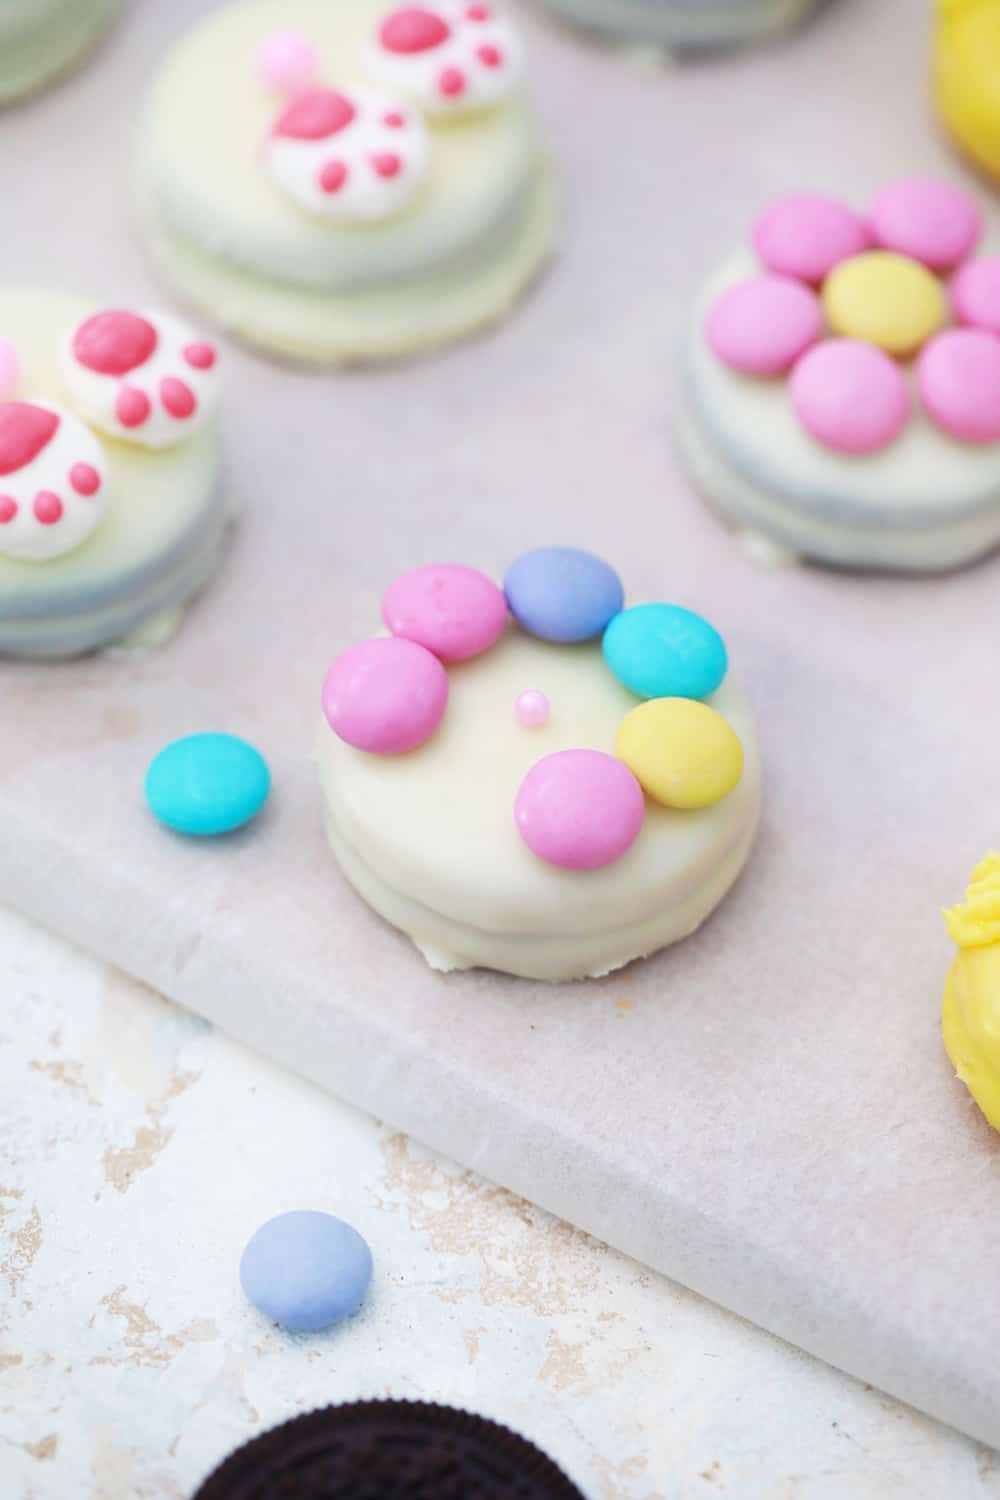
Once the white Oreos you can add a pattern to make flowers, or a slice of marshmallow with pink dots and a pink M&M to make cute bunny feet.
Make sure that you let the candy melt dry and set before serving and eating.
Variations
Use different cookies – If you have someone in the house that doesn’t like Oreo cookies, you can use this simple tutorial for any type of cookie that is round and flat.
Don’t forget that you can also use gluten-free Oreos and toppings for those that can’t eat gluten!
Make something new – Even though we made bunny feet, chicks, and spring flowers on our Oreos, let the kids have fun and make something creative and new!

How do I get rid of the excess after dipping my Oreos?
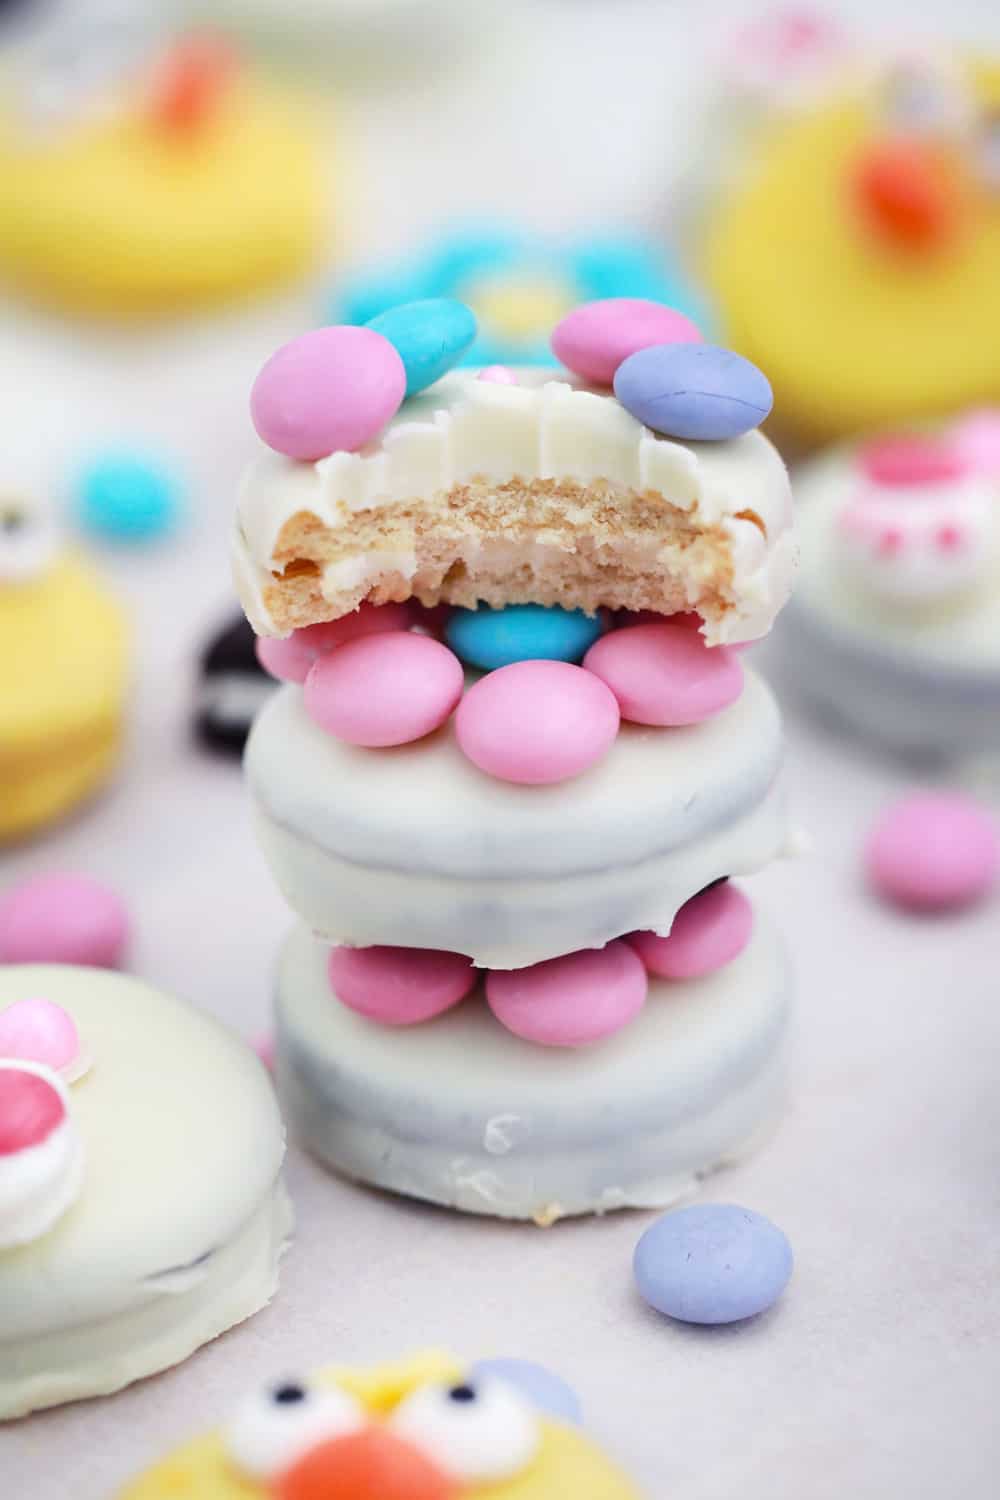
It can be hard to get rid of the excess candy melt that will be on the Oreo cookie after dipping it. The good news is that there are a few things that you can do!
You can dip the Oreo using a fork, and then shake the covered Oreo over the top of the bowl and let the excess drip off.
You can also put a wire cooling rack on top of the baking sheet, and have the covered Oreos on top of the rack, letting the excess drip off.
What are good candy ideas to use as decorative toppings?
The best candy is one that is easy to chew. We use M&M’s or chocolate candies like that as a great topping choice.
They’re easy to eat, delicious, and can be used for all different holidays and seasons because there are so many colors to choose from.
Sprinkles and candy melts are also a great idea because there are a lot of colors and they’re easy to add to any type of dessert.
How do I store decorated Oreos?
The great thing about making Oreo cookies is that they can be stored at room temperature in an airtight container.
The candy melt on the Oreo actually acts as a good barrier and keeps the Oreo’s fresh and crunchy for longer. If you want to store them in the fridge, you can, but you don’t have to.
You can also freeze decorated Oreos to enjoy later also. The key to keeping them fresh is to store them in a freezer-safe bag and then store them in the freezer.
Sometimes I’ll store them in serving sizes so I can grab a small bag as we’re headed out the door. They’re great for a trip!
Can I make these in advance?
You can! If you want to prep and make these ahead of time, just be sure that you store them in a good container so that they stay fresh.
Making them 24-48 hours in advance is a great way to cut down on your prep work and time on Easter. This also frees up the kitchen for any other items that you want to make or bake!
Fun Ways to Share Cookies with Others
While these are great for an Easter family celebration or dinner, you can also gift these to others. Get a cute bag or box, and have the Oreo cookies placed in there. You can even get some cute “grass” and have it in the box with these Oreos placed right on top.
If the kids are feeling creative, you can have them write a card to add to the gift. I also think that a platter of Oreo cookies is never a bad idea, and anyone would be happy to have it delivered right to them at their home!
Easter Oreos
You’re going to love how simple and easy it is to make these simple Oreo cookies for Easter!
Easter Oreos
Ingredients
- Oreo cookies
- Candy melts white, pink, and yellow
- Googly eyes
- M&M's or colorful candies
- Marshmallows
Instructions
- Start by melting the candy melts in microwave safe bowls. The exact time needed should be on the package directions.
- Be sure that you don't overheat and burn the candy melts, or you'll have to throw out the entire batch and start over.
- Once the candy melts are smooth, you can dip the Oreos into the melted chocolate and then set them on parchment lined baking sheets.
- Add the decorations on top of the colored Oreos. Add eyes to the yellow to make the duck, and then add an orange M&M for the beak.
- Once the white Oreos you can add a pattern to make flowers, or a slice of marshmallow with pink dots and a pink M&M to make cute bunny feet.
- Make sure that you let the candy melt dry and set before serving and eating.
Video
Agnes Hsu is a mom of three and has been inspiring parents and kids to get creative with easy activities and family friendly recipes for over 10 years. She shares her love for creative play and kids food to her 2MM+ followers online. Agnes' commitment to playful learning and kindness has not only raised funds for charity but also earned features in prestigious nationwide publications.


This Rainbow Fruit Cookie Pizza Adds A Pop Of Color To Your Dessert Table!
Tuesday 14th of March 2023
[…] not only perfect for any holiday, but it’s really great to get the kids excited about spring treats and […]