How To Make Candy Sleighs - Cute Christmas Treat
By using this site, you agree to our Terms of Use. This post may contain affiliate links. Read our disclosure policy.As an Amazon Influencer, I earn from qualifying purchases.
Follow us on Instagram for more fun food ideas for kids!
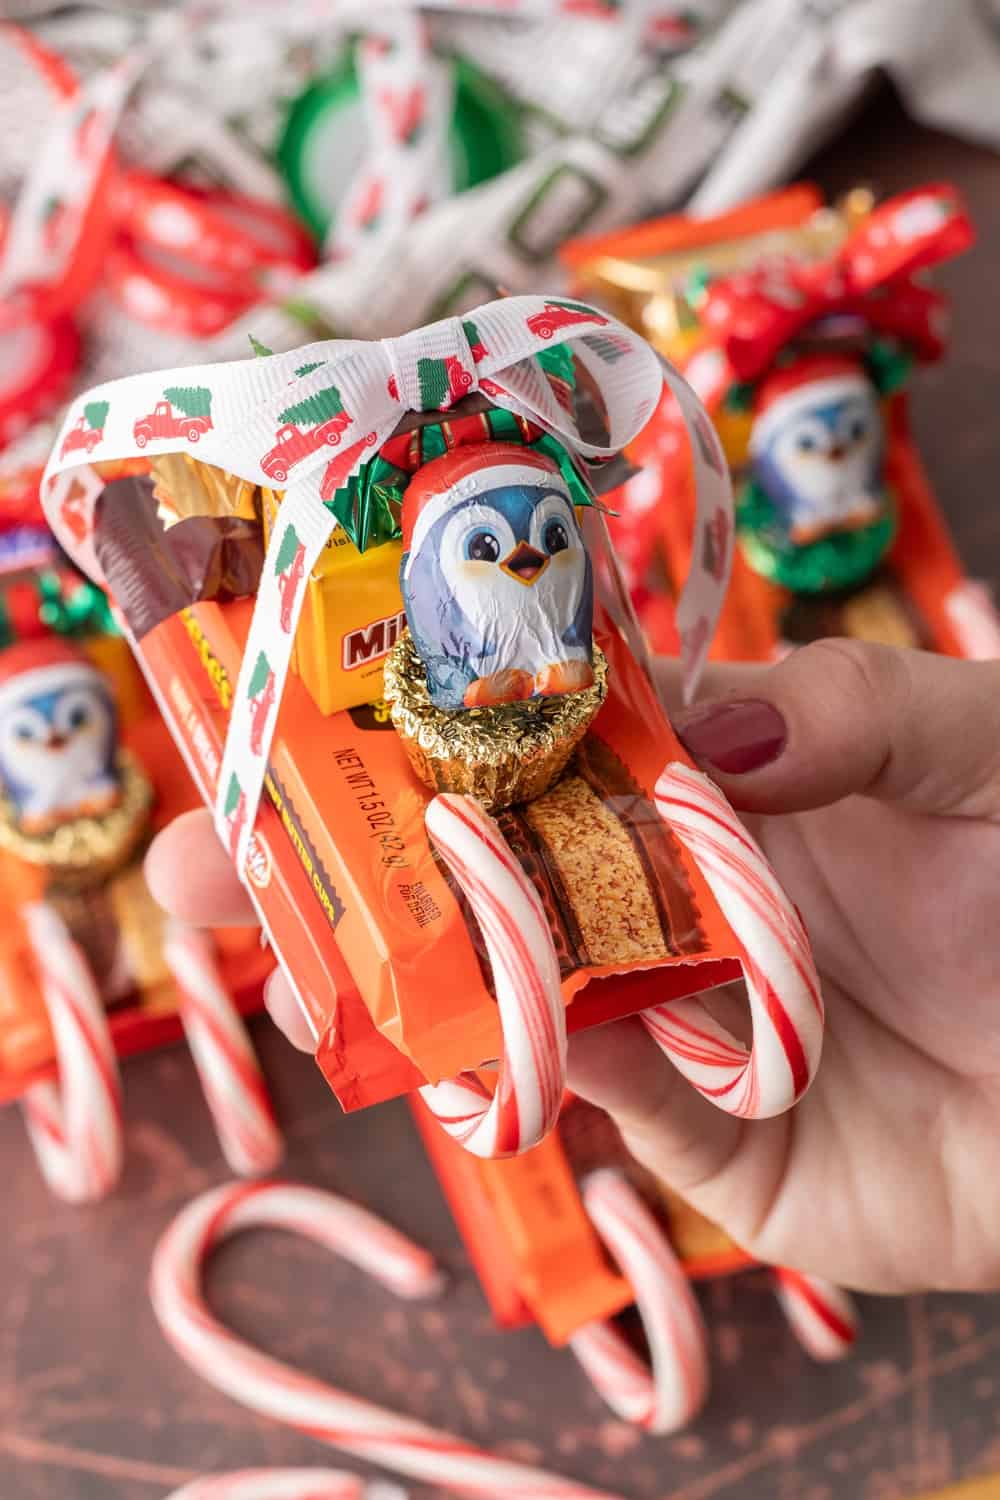
Candy sleighs make an adorable Christmas treat kids will especially love! These festive treats are fun to customize with your favorite chocolates and candies.
Creating candy sleighs is a fun and festive activity that is perfect for getting into the holiday spirit. These adorable Christmas treats are so versatile and make excellent gifts for party favors or classroom favors. Who doesn't love getting extra candy?! There's really no right or wrong way to make a candy sleigh so here's a simple guide for creating your own! Feel free to mix and match candies as you wish based on your child's preference 🙂
Candy Sleighs - Materials
- A selection of small candy or chocolate boxes of various sizes
- Two candy canes for each sleigh
- Ribbon to keep the candy in place
- Chocolate or candy characters (like penguins or Santas)
- Glue dots or double-sided tape
How to make Candy Sleighs - Cute Christmas Treat
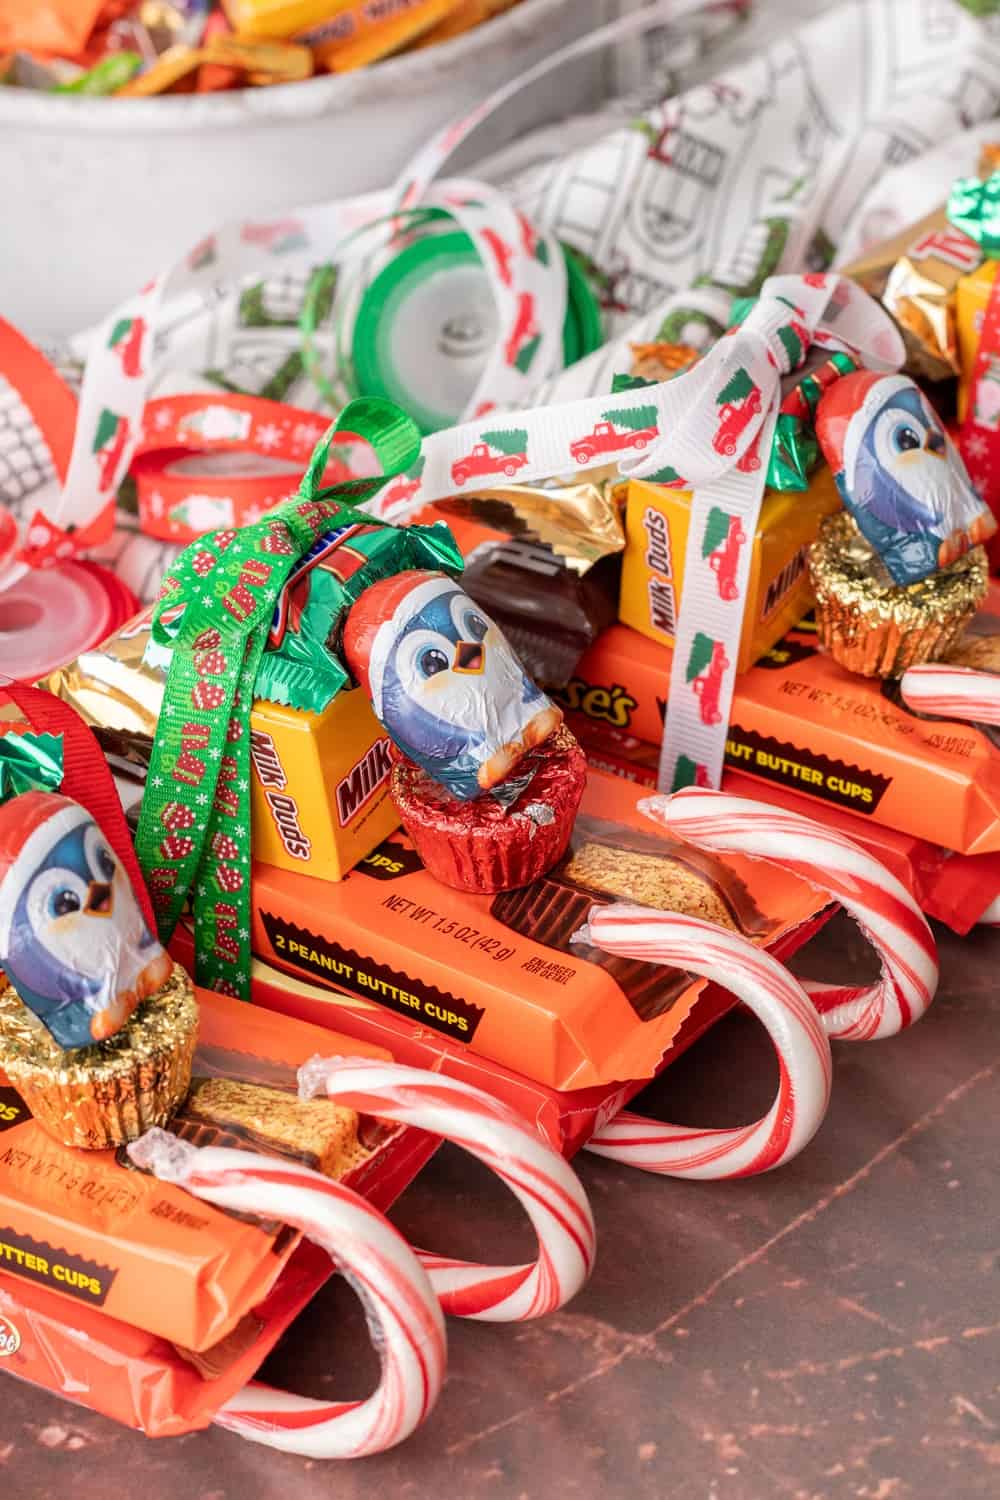
Select Your Candy: Begin by choosing a variety of candy or chocolate boxes. These will form the body of the sleigh. Aim for a range of sizes to create a tiered effect.
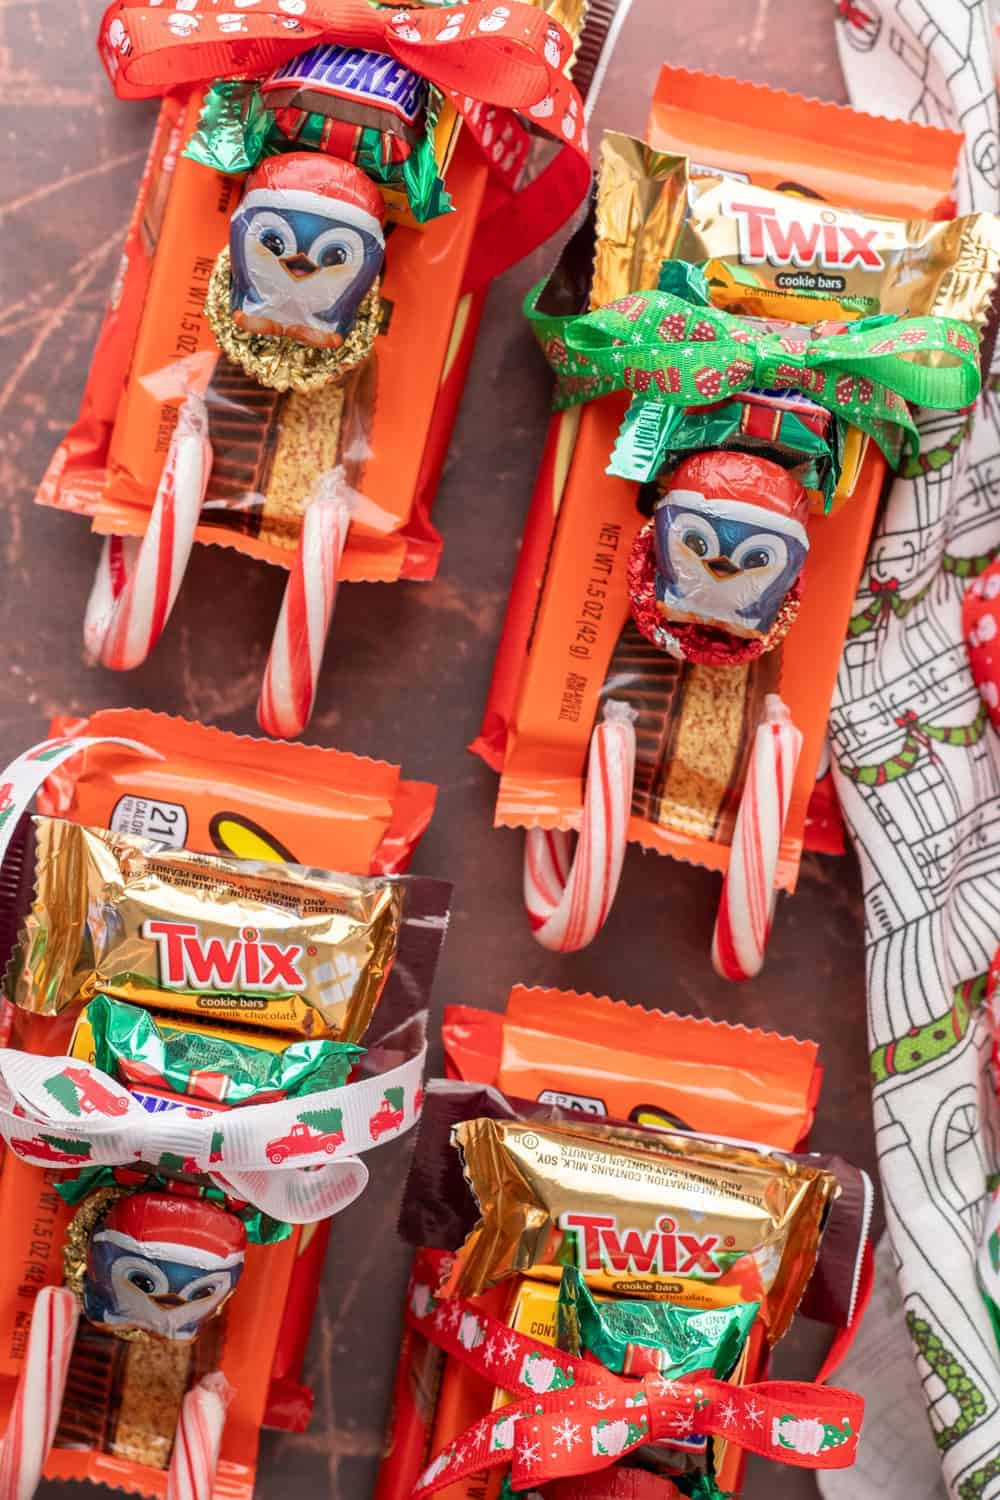
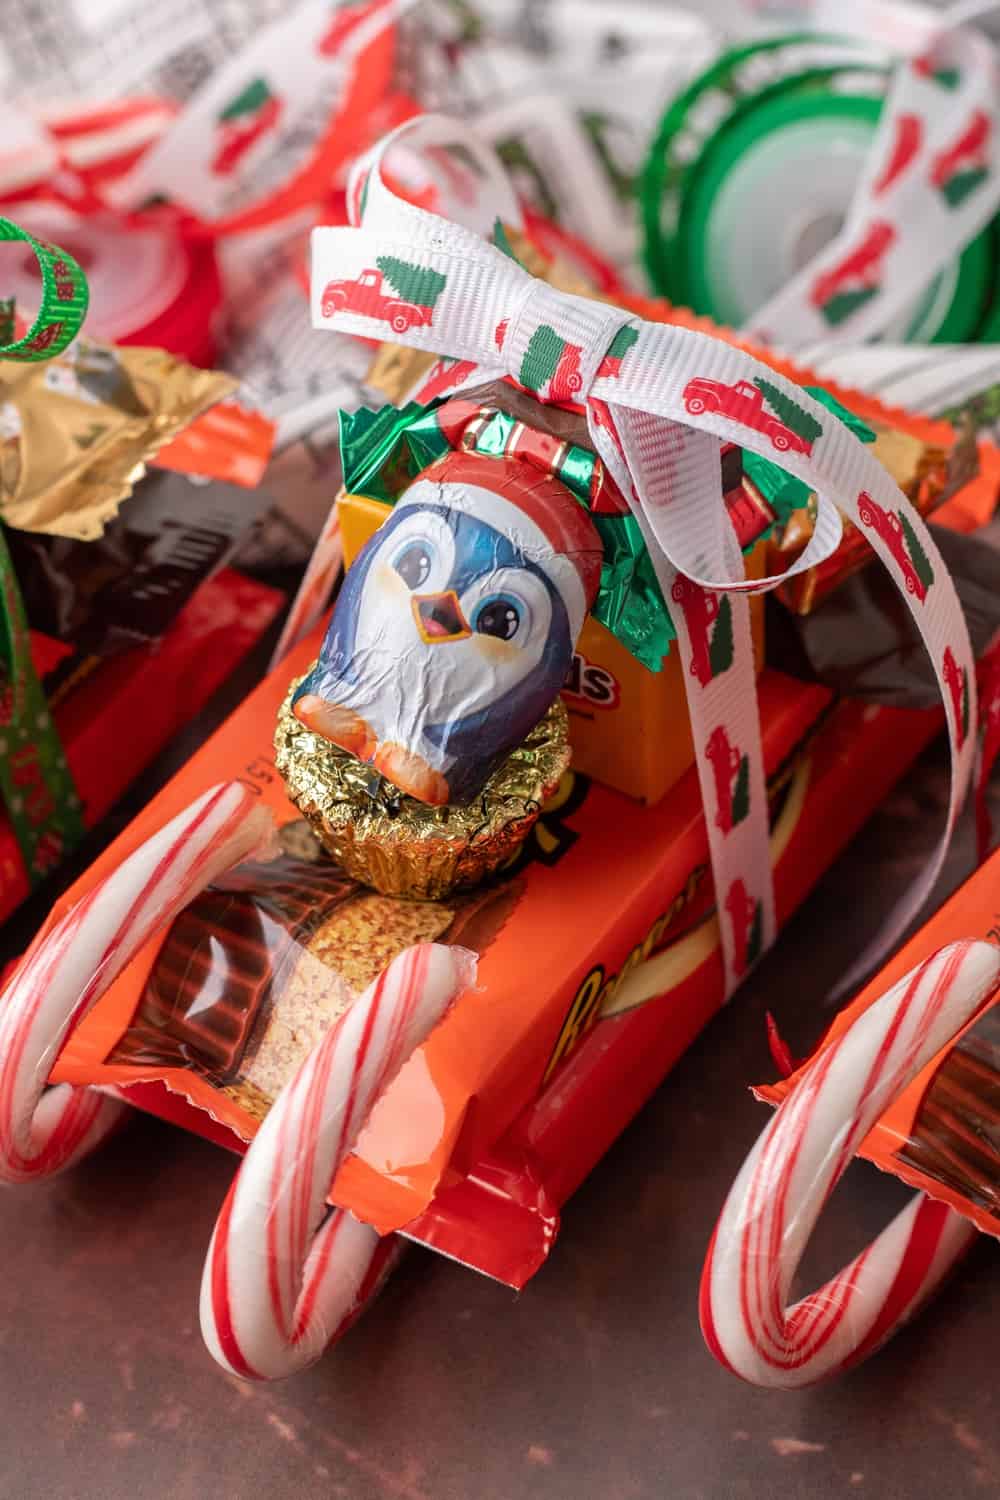
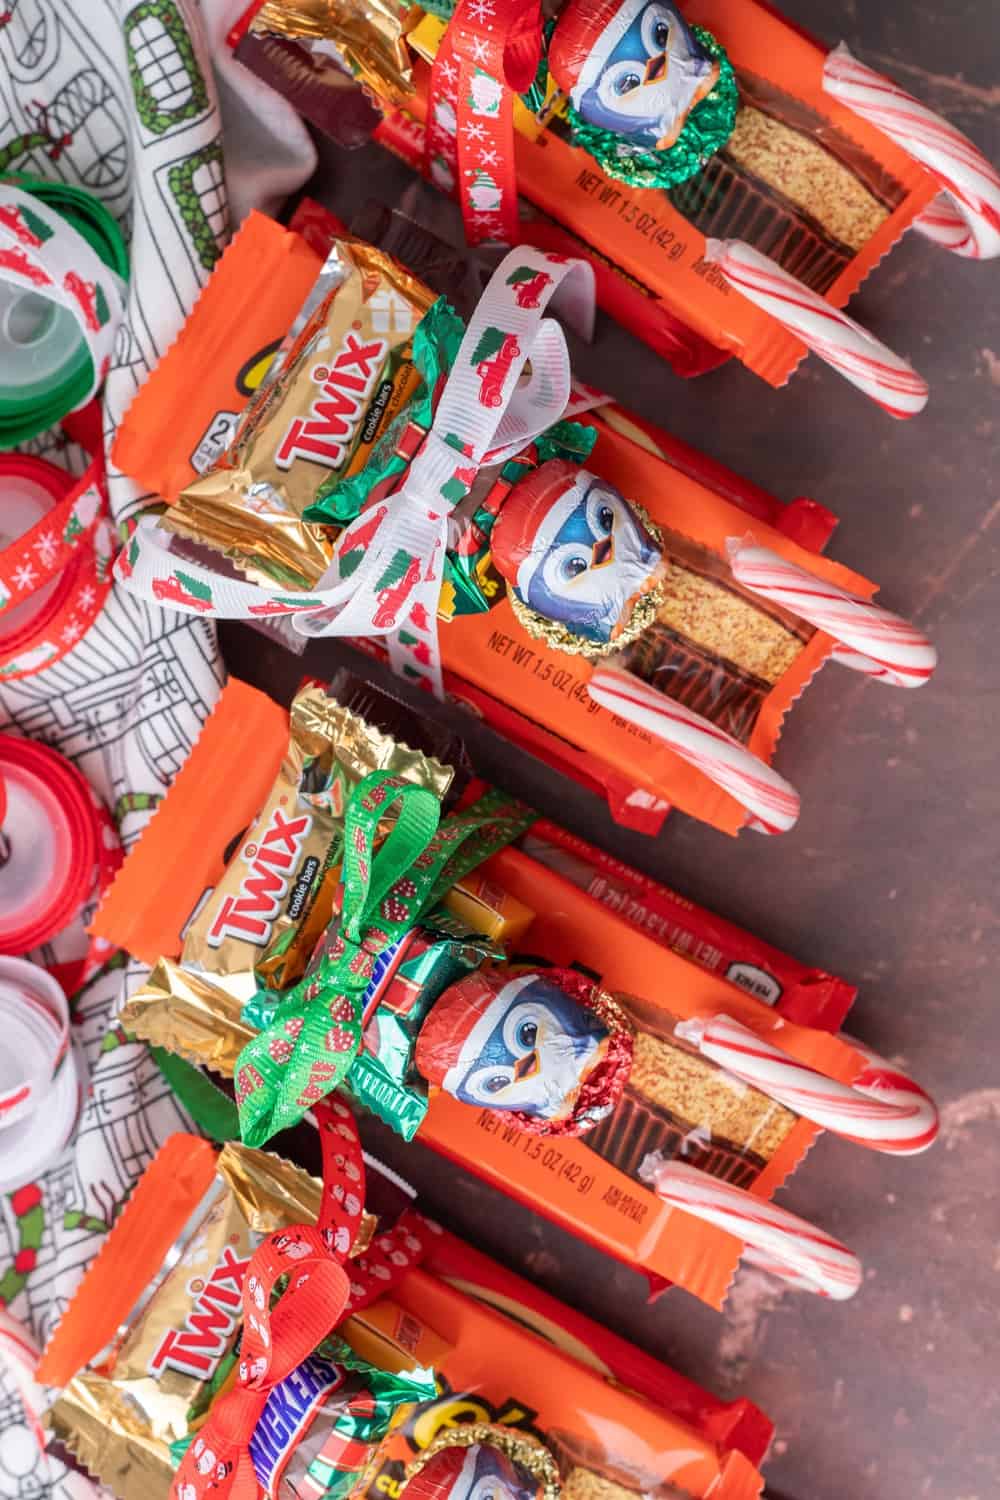
We used these candies in this order from bottom to top:
- Kit Kat
- Reese's Peanut Cups
- On top of these, a fun size Hershey's and Twix on one end
- One fun size Milk Dud on the center
- A small peanut butter cup next to the Milk Dud (this will be your sleigh "seat")
- A Snickers fun size on top of the Milk Dud
- Two candy canes on the bottom looping through the ribbon
- Chocolate Penguin on top of the peanut butter cup "seat"
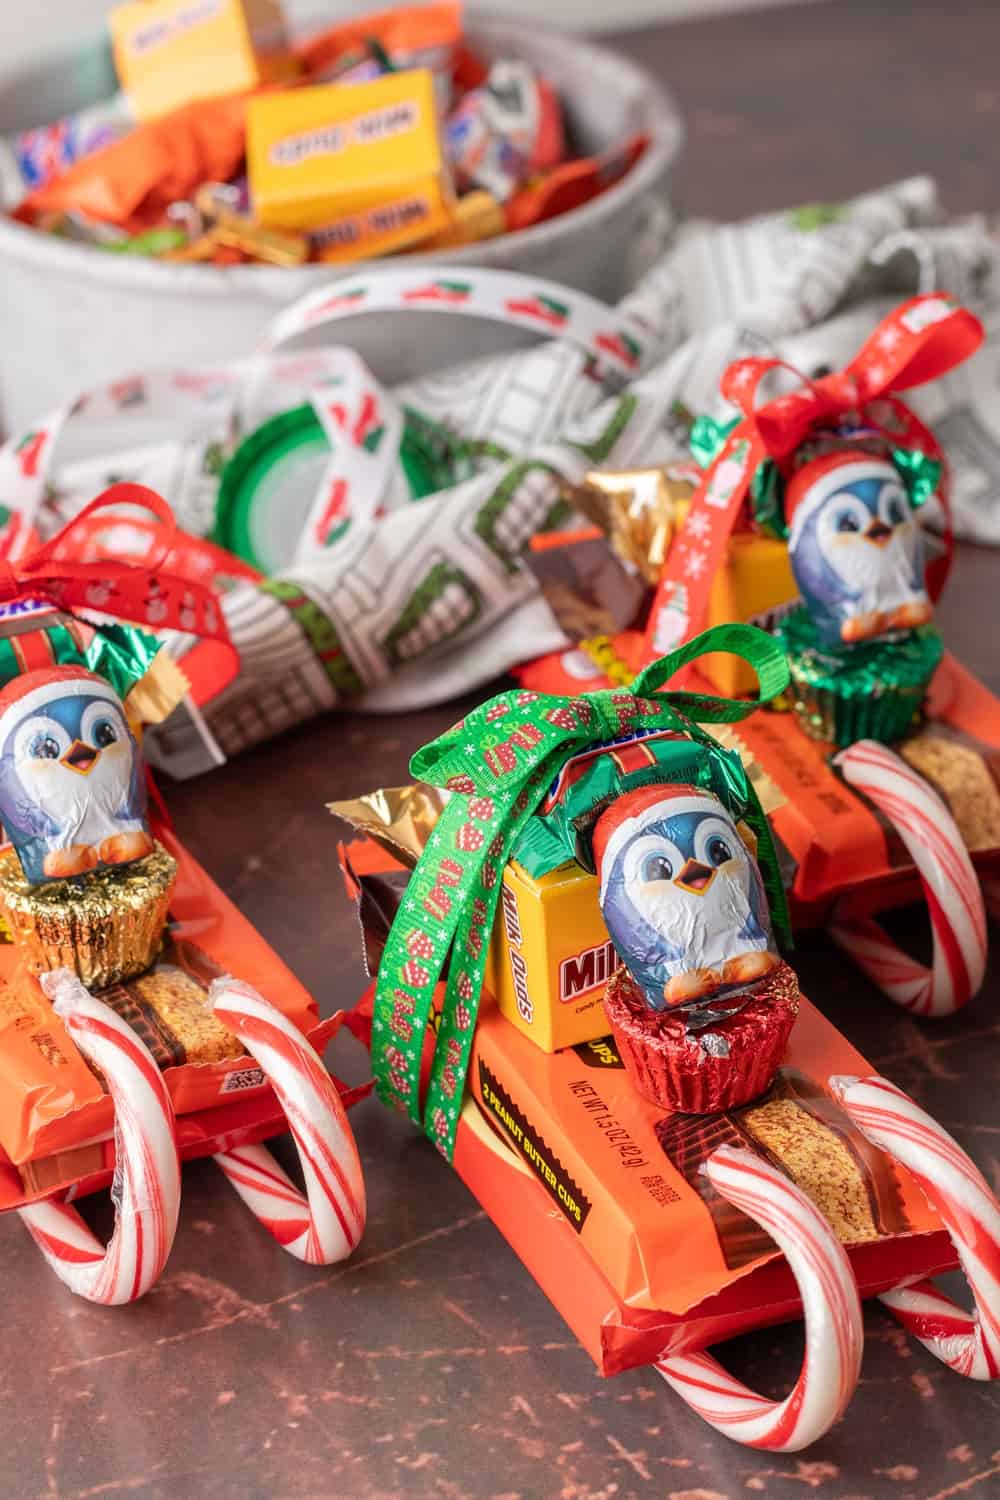
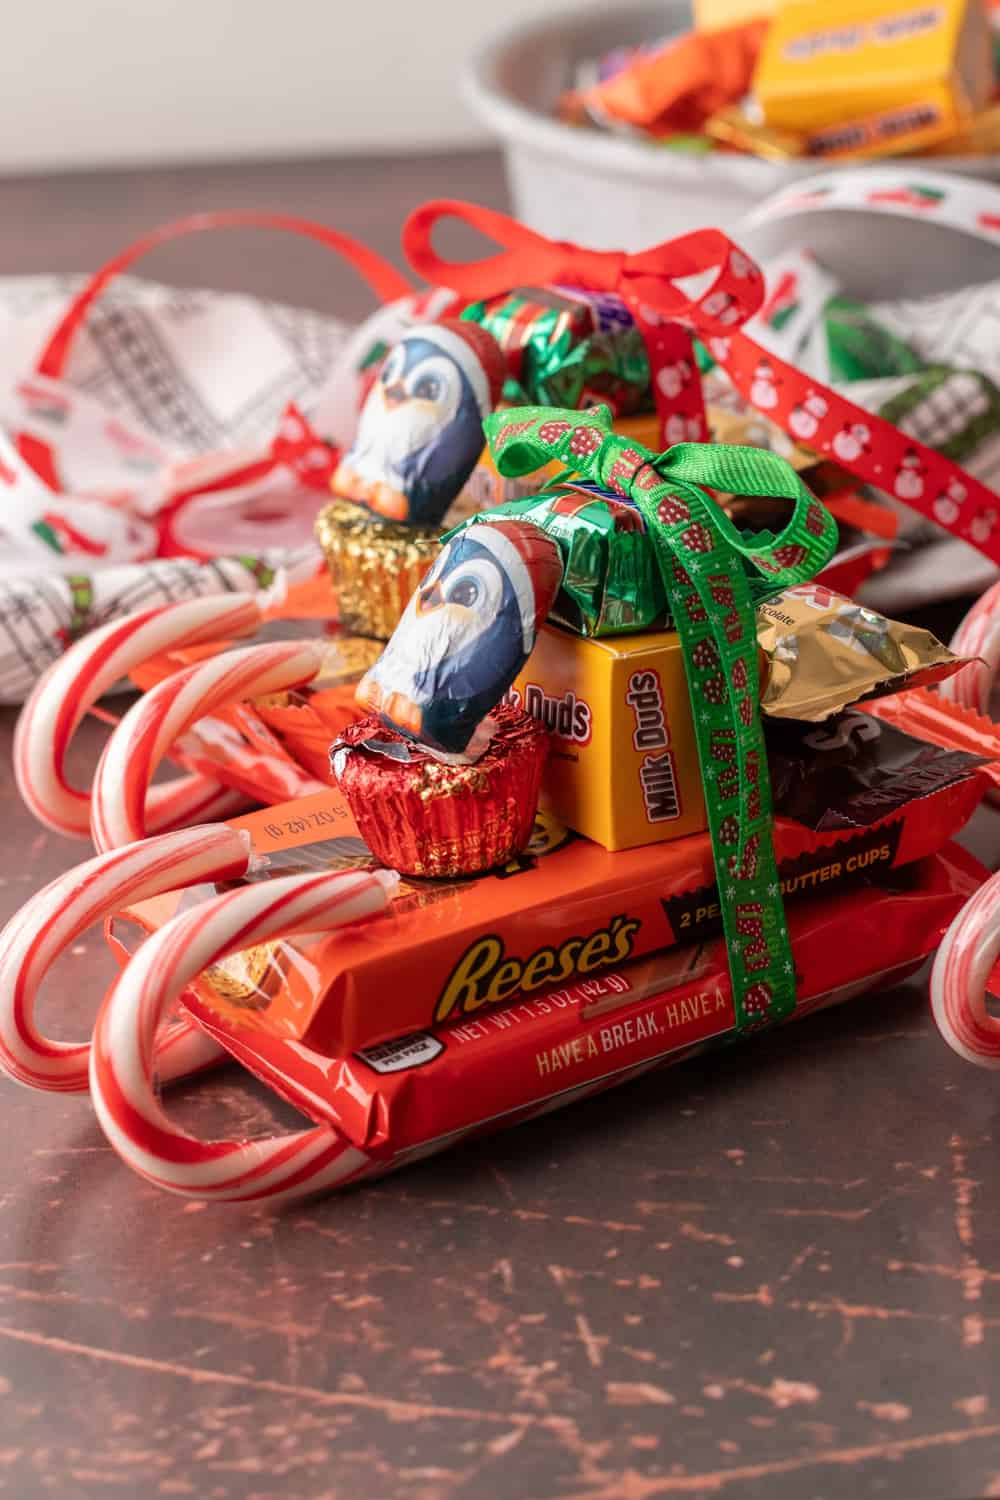
- Arrange the Sleigh: Place the largest candy box flat on your work surface. This will be the base of your sleigh. Stack the smaller boxes on top, decreasing in size as you build up, to form the seat of the sleigh. You can use glue dots or double stick tape to keep them from sliding off.
- Decorate with Ribbon: Wrap a ribbon around the candy boxes to hold them together, tying a bow at the front or top of the sleigh. Choose festive colors or patterns. Don't tie the ribbon super tight as you'll be adding the candy canes through.
- Attach the Candy Canes: Use glue dots to affix a candy cane to each side of the largest candy box, curving upwards to create the sleigh's runners.
- Add a Chocolate Character: Place a chocolate or candy character on the top tier of the sleigh to "ride" it. We used a chocolate penguin for a fun twist but you can use a Santa for a more traditional look.
Conclusion
Candy sleighs are not only adorable but also a cute and customizable Christmas treat. Kids will love getting a mix of candies during the holidays! You can mix and match candy types, colors, and characters to create unique designs.
These sleighs are sure to be a hit with kids and can add a sweet touch to your holiday gifting this year! Make sure to add a cute handwritten note for each kiddo!
Candy Sleighs
Ingredients
Method
- Select Your Candy: Begin by choosing a variety of candy or chocolate boxes. These will form the body of the sleigh. Aim for a range of sizes to create a tiered effect.
- We used these candies in this order from bottom to top:Kit KatReese's Peanut CupsOn top of these, a fun size Hershey's and Twix on one endOne fun size Milk Dud on the centerA small peanut butter cup next to the Milk Dud (this will be your sleigh "seat")A Snickers fun size on top of the Milk DudTwo candy canes on the bottom looping through the ribbonChocolate Penguin on top of the peanut butter cup "seat"
- Arrange the Sleigh: Place the largest candy box flat on your work surface. This will be the base of your sleigh. Stack the smaller boxes on top, decreasing in size as you build up, to form the seat of the sleigh. You can use glue dots or double stick tape to keep them from sliding off.
- Decorate with Ribbon: Wrap a ribbon around the candy boxes to hold them together, tying a bow at the front or top of the sleigh. Choose festive colors or patterns. Don't tie the ribbon super tight as you'll be adding the candy canes through.
- Attach the Candy Canes: Use glue dots to affix a candy cane to each side of the largest candy box, curving upwards to create the sleigh's runners.
- Add a Chocolate Character: Place a chocolate or candy character on the top tier of the sleigh to "ride" it. We used a chocolate penguin for a fun twist but you can use a Santa for a more traditional look.
Video
Tried this recipe?
Let us know how it was!
Agnes Hsu is a mom of three and has been inspiring parents and kids to get creative with easy activities and family friendly recipes for over 10 years. She shares her love for creative play and kids food to her 2MM+ followers online. Agnes' commitment to playful learning and kindness has not only raised funds for charity but also earned features in prestigious nationwide publications.