How to Make an Easy Rainbow Tsunami Cake Recipe
By using this site, you agree to our Terms of Use. This post may contain affiliate links. Read our disclosure policy.
Follow us on Instagram for more fun food ideas for kids!
This easy Tsunami Cake Recipe is an simple rainbow pull me up cake that is super easy and fun for kids to make!
Birthdays and celebrations are looking a lot different these days and parents are finding creative ways to celebrate their children. The viral food trend Tsunami cakes (or pull me up cakes") you see on Instagram and TikTok are one such way. Jumping on that trend, we're sharing an easy Rainbow Tsunami cake recipe that kids can make too! One part interactive, one part fun and definitely yummy! What’s great about these being interactive is that since we aren’t blowing out candles these days, this is a fun thing kids can do before they cut into their cakes. We have seen Tsunami cakes where the flowing frosting is a princess dress or the blue of the ocean. Pull me up cakes offer so many creative ways to create your cake specific to your child’s likes.
Watch the video in this post to see how easy it is to make this rainbow tsunami cake.


What is an easy Tsunami Cake recipe?
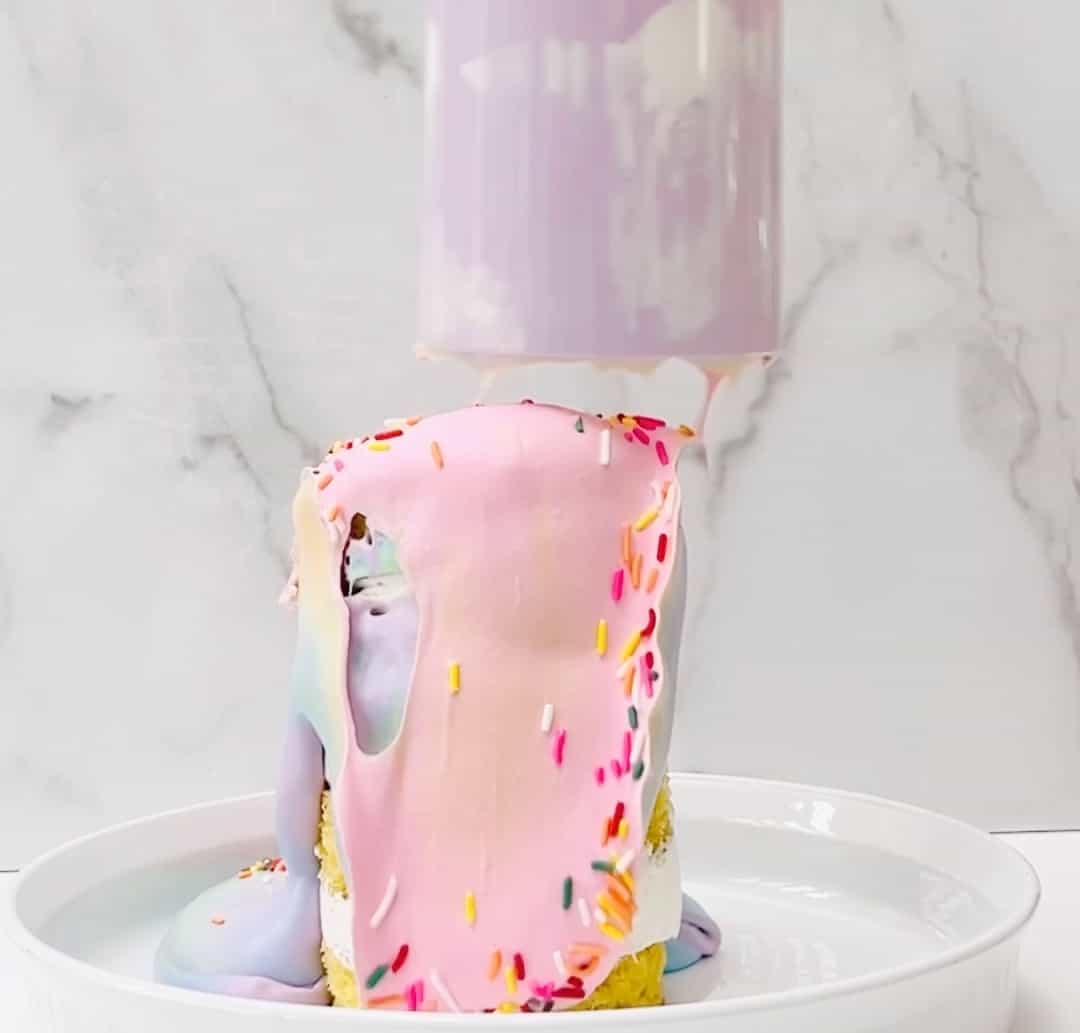
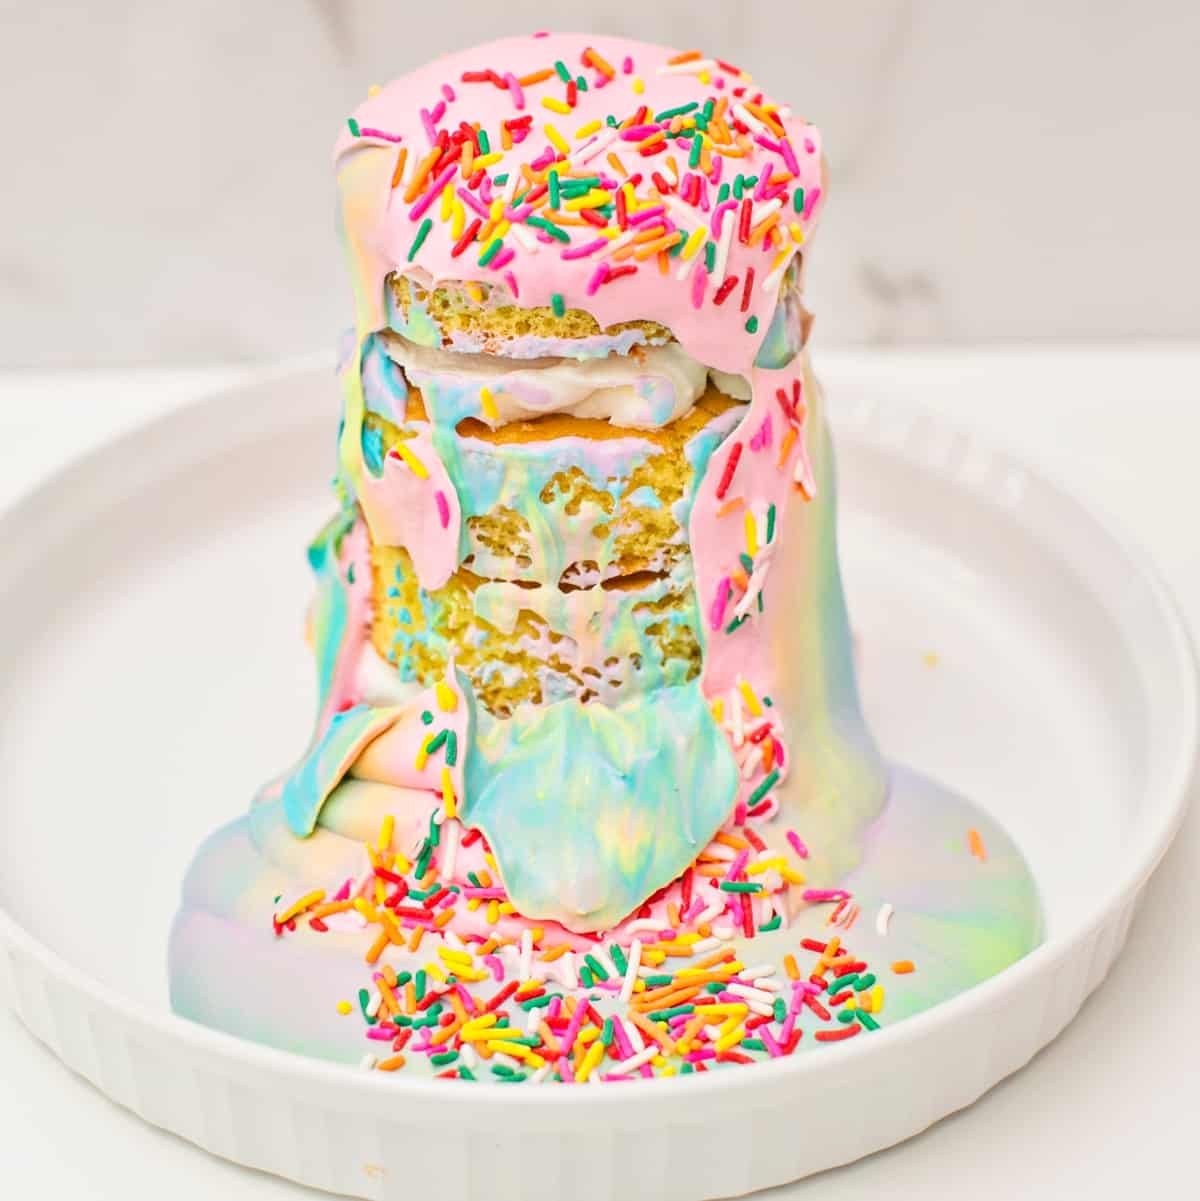
A Tsunami cake is a cake with movement, where the colorful frosting cascades from the top of the cake after a clear sleeve is pulled off the cake! This is great for the online parties we are having lately as they are so mesmerizing to watch! You can wow all of your Zoom guests with this enjoyable Instagram worthy cake and its captivating frosting. Your imagination is your only limitation as far as color and themes go.
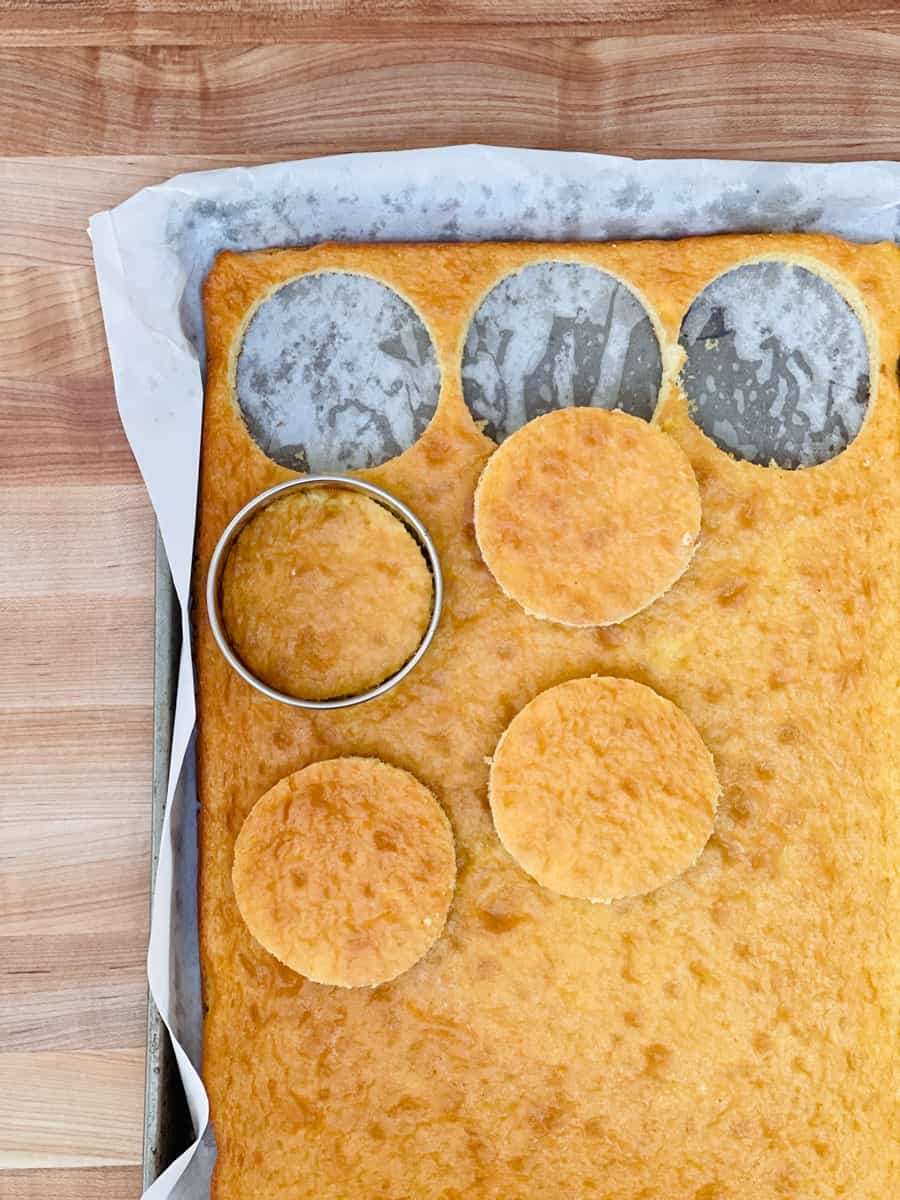
We have a great, kid-friendly version of a Tsunami cake tutorial using your favorite boxed cake mix, a large cake pan and cut circles. You'll need a lid or a bowl if you don’t have a cookie cutter. Then you'll want to cut out a couple of circles so they can be stacked on top of each other for some height. We purposefully made these mini cake sized for kids.
The frosting used to stack your cakes can be Cool Whip, store bought frosting or even canned whipped cream. The flood of frosting is made by combining cool whip, food coloring and condensed milk. Adding some regular milk to help thin it out which will help it to flow down the cake.
How do you make a Rainbow Tsunami Cake?
In order to make a rainbow cascade of frosting, the pourable frosting is made with different colors and layered on one another once the clear sleeve is wrapped around the cake. This clear acetate cake cover can be found on Amazon, at craft or bake shops. To achieve this, the frosting is separated and food coloring is added to make a rainbow of colors. When it spills out, it makes for a beautiful rainbow-y flow of frosting.You can add colorful rainbow sprinkles as well.
Is Tsunami Pull Me Up Cakes fun to make with kids?
Kids will enjoy helping to make this easy Tsunami Pull Me Cake. Younger kids can help make the cake, cut the cake rounds and stir the frostings and add the colors. Older kids could help cut and stack the cakes on top of each other. Once you put the clear collar around the cake, they would have so much fun adding the layers of pourable frosting and sprinkles. The best part will be that they can help pull the clear collar off the cake and watch the magic happen.
With endless possibilities, we hope this Tsunami cake can become the latest recipe to try and maybe you can even surprise someone with this mesmerizing cake for your next celebration
Watch the video in this post to see how easy it is to make this rainbow tsunami cake.
Easy Rainbow Tsunami Cake Recipe - Ingredients:
-
Yellow Cake Mix
-
Jelly full 18" x 13" sheet pan
-
3.5" round cookie cutters
-
Parchment paper
-
Nonstick cooking spray
-
Two tubs of Cool Whip
-
One can of condensed milk
-
Milk
-
Rainbow sprinkles
-
Gel Food coloring
Ingredients
Method
- Preheat your oven to 375 degrees. Prepare your cake mix according to the instructions.
- Spray your sheet pan with nonstick cooking spray, then add parchment down and up the sides. Spray the top of the paper.
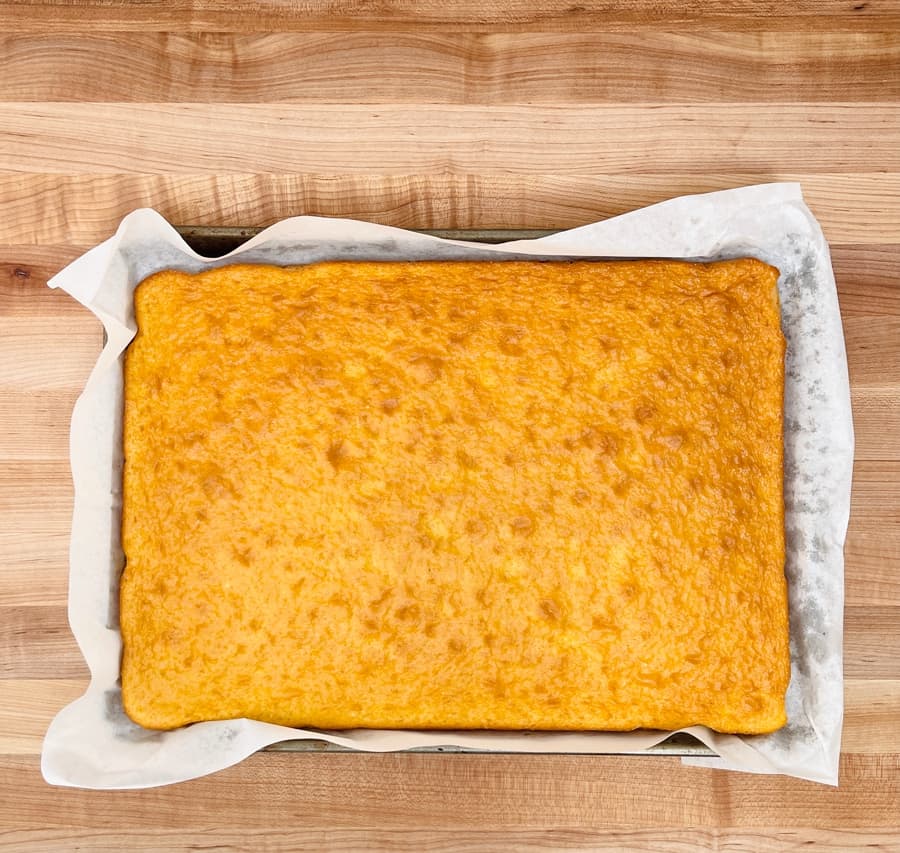
- Spread your cake over the pan evenly. Bake until the top is golden brown and springs back lightly when touched about 30-35 minutes.
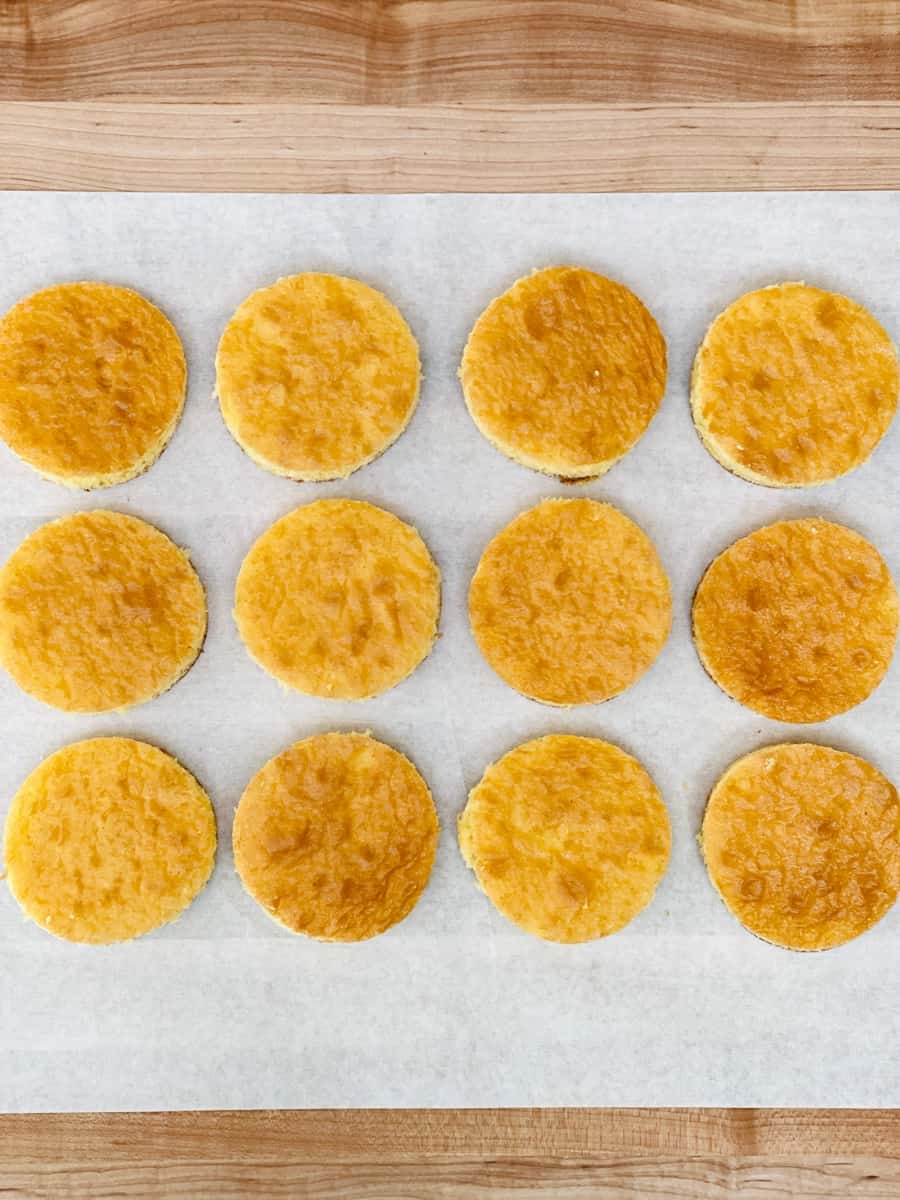
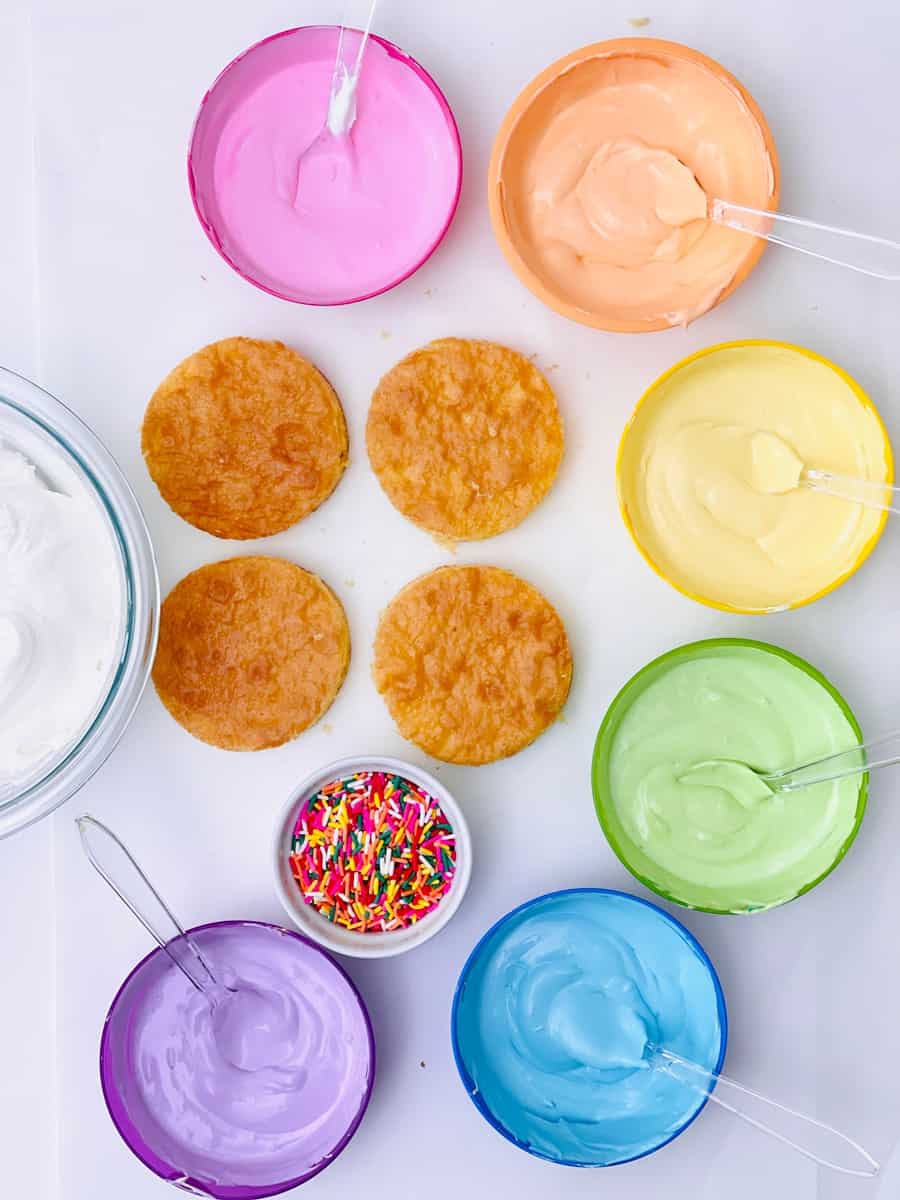
- Let the sheet pan cake cool completely, then cut into rounds. You should have 12. You will only need 4 to make the cake. Reserve extra for another use. You can freeze the extra cake rounds.
- To make the inside filling you will just need one tub of Cool Whip. You will have extra leftover, so reserve that for another use.
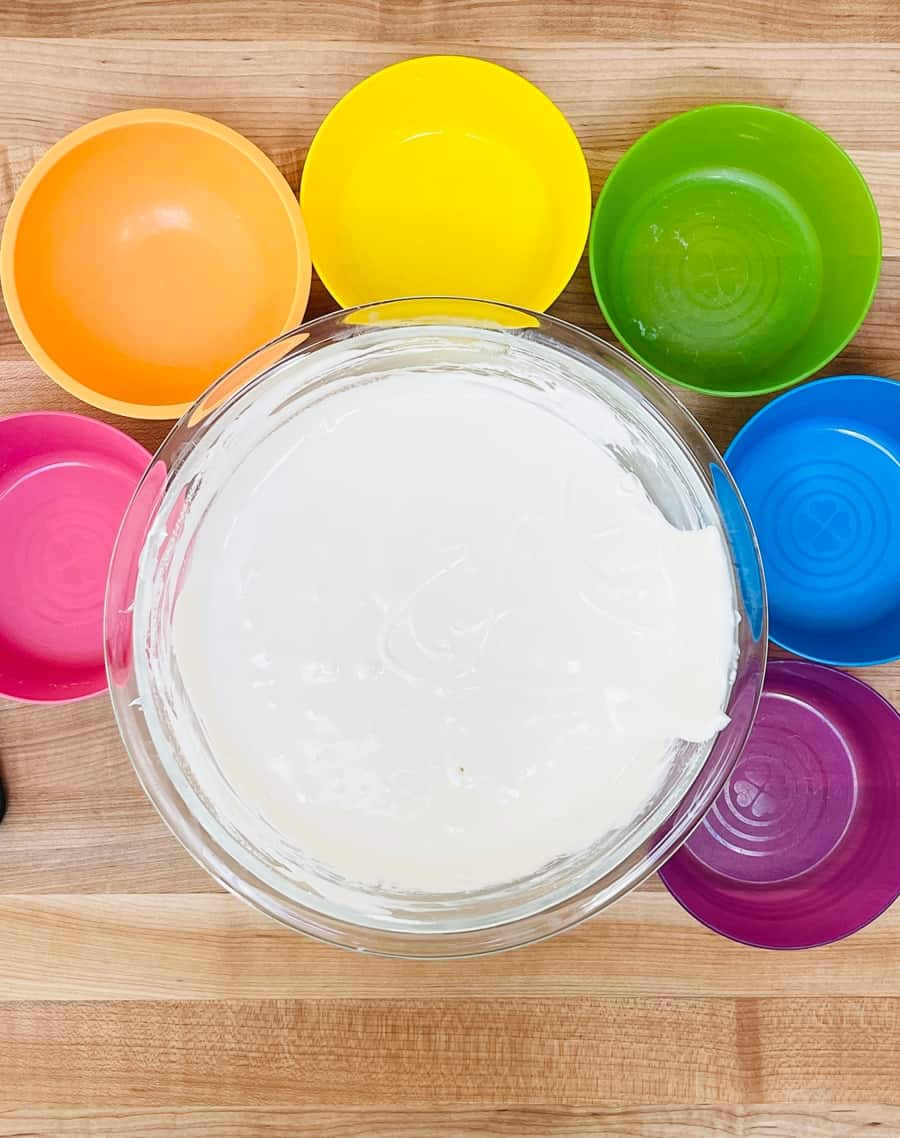
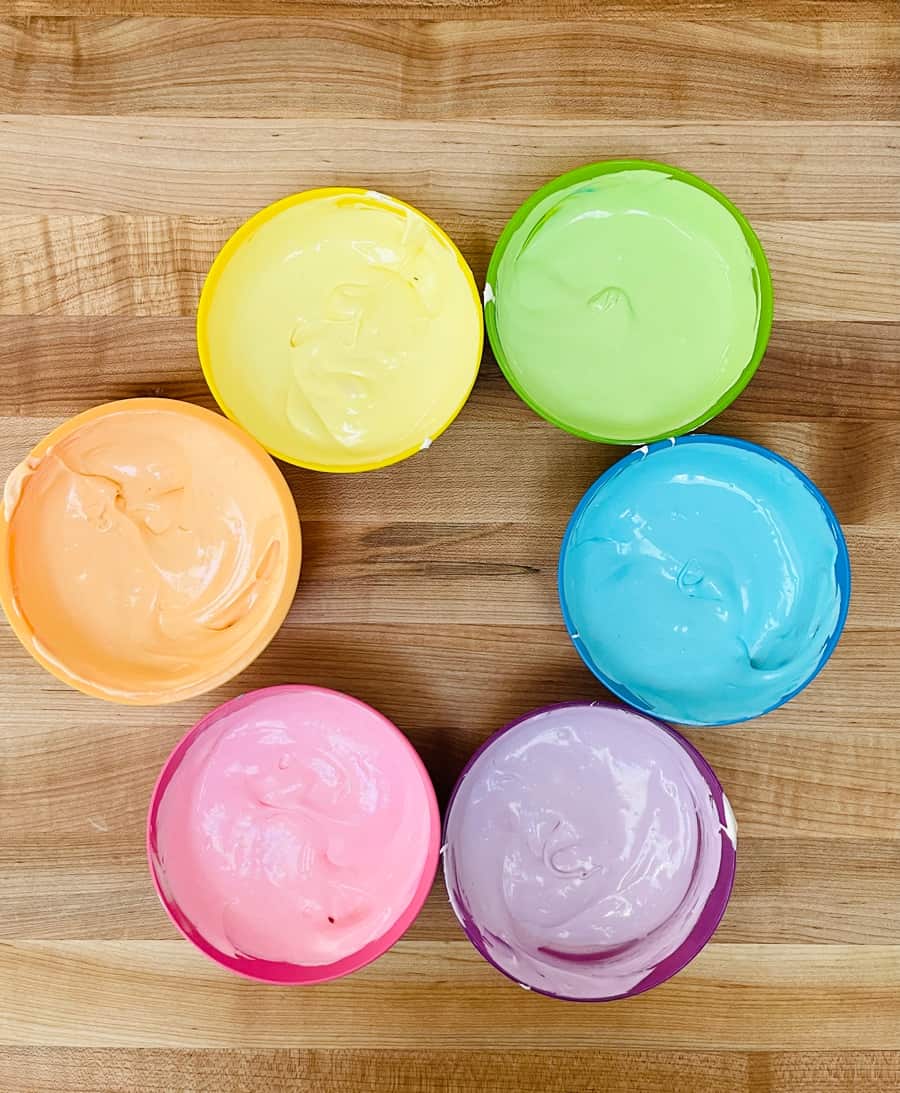
- To make the cascading frosting blend the second tub of Cool Whip with one can of condensed milk, separate into 6 bowls.
- Use your food gel coloring to make 6 colors of the rainbow from your 6 frosting bowls.
- You want the consistency of the frosting to be flowy and liquid-ly, add a teaspoon of milk to each bowl and blend until your reach that consistency. The longer the frosting sits out the more it will thicken so do this step right before you frost the cake.
- To assemble the cake, grab a shallow pan or plate and place one cake round in the center. Add Cool Whip on top then another cake round until you have 4 layers of cake.
- Add the cake acetate around the cake and tape snugly but not so tight it can't be lifted off.
- Add our frosting in rainbow order staring with purple. Then add a generous amount of rainbow sprinkles to the last frosting layer.
- Gently lift the acetate cover off and watch the rainbow cascade of frosting flow down!
Video
Tried this recipe?
Let us know how it was!Note our rainbow didn't fully cascade evenly on one side but hat is because the cake was not super straight when the cake cover was pulled off. Remember to make the layers as straight as possible or even add skewers in the center to keep the cake straight! We will try that next time!
Our kids were mesmerized by this super cool cake concoction but the best part is they loved making and eating it!
You Might Also Like
Peppermint Ice Cream Chocolate Cake

Agnes Hsu is a mom of three and has been inspiring parents and kids to get creative with easy activities and family friendly recipes for over 10 years. She shares her love for creative play and kids food to her 2MM+ followers online. Agnes' commitment to playful learning and kindness has not only raised funds for charity but also earned features in prestigious nationwide publications.